
Last updated November 18, 2026
 Architectural shingles
 Metal roofing
 Tile roofing
 GAF
 Owens Corning
 Flat & low-slope
Free roof inspection with deck photos before we talk money - GAF and Owens Corning certified installation
Roof Replacement & Installation Warning Signs Every Homeowner Should Know
A sagging ridge line and curling shingles get all the attention. But the defect most likely to void your warranty is invisible from the ground, and it has nothing to do with the shingles at all: improperly staggered nail patterns. We’ve walked thousands of roofs in Enterprise, and the pattern repeats. The homeowner who catches a bad install in the first 90 days spends a fraction of what the homeowner who finds it in year three spends. This guide separates the warning signs that your old roof is failing from the warning signs that a new roof was installed wrong. They are different problems, and most advice online blurs the two. We’ll show you what to look for from a ladder or a second-story window, what your inspection photos should capture, and a simple 30-60-90 day checklist you can run without ever climbing up.
Quick Answer
The clearest signs of a bad roof installation are defect patterns that show up in the first 90 days: nails driven outside the shingle’s nailing strip, shingles that aren’t offset in a proper stagger, missing or misplaced starter strip, and disturbed attic ventilation showing as new condensation or daylight gaps. Pre-replacement warning signs are different. They mean the old roof is failing. Post-installation warning signs mean the new roof was done wrong. Learn both, and check the second set aggressively in the first three months, because that’s when a square deal is easiest to hold to.
Styles & brands we work with
- Architectural shingles
- Metal roofing
- Tile roofing
- GAF
- Owens Corning
- Flat & low-slope
Table of Contents
- Two Kinds of Warning Signs Homeowners Confuse
- The Invisible Defect: Nail Pattern and Stagger
- Starter Strip and Wind Uplift in Enterprise Monsoon Season
- What a Photo-Documented Inspection Should Capture
- Interior Signs You Might Notice After Installation
- Pre-Replacement Warning Signs That the Roof Is Failing
- Your 30-60-90 Day Self-Inspection Checklist
- How to Use Your Warranty Before the Window Closes
Two Kinds of Warning Signs Homeowners Confuse
There are two completely different questions a homeowner can ask about a roof. The first question is whether the roof you already have is failing and needs replacing. The second is whether the roof someone just installed was done right. Most guides mash these together into one long list, and that’s a mistake. The signs look different, the timing is different, and what you should do about each is different.
Pre-replacement signs are the language of an old roof wearing out. Curling shingle edges. Granules collecting in the gutters. Soft spots. Daytime light coming through the deck. These tell you it’s time to price a replacement.
Post-installation signs are the language of a hurry job. The shingles may look new and clean from the street while the install is already wrong underneath. That’s what makes them dangerous. A bad install can pass the curb test and still fail in its first high-wind event.
Here in Enterprise, the split matters more than in milder climates. The desert swings from 110-degree summers to hard freezes in the winter, and monsoon gusts in July and August are the real test of whether the roof was installed right. A sloppy install might limp through a mild climate for years. In Enterprise, one good gust finds every weak nail.
What to check:
- Pre-replacement: Is the roof wearing out? Look at granules, shingle edges, and the age of the shingles.
- Post-installation: Does the job look right? Look at the same area at three angles: from the ladder, from a second-story window, and from the driveway with a photo zoomed in.
- The right action: Pre-replacement signs mean get a written estimate. Post-installation signs mean get the installer back while the workmanship window is open.
If you’ve just moved into a house and don’t know the roof’s history, a written inspection tells you which kind of warning sign you’re looking at. Ridgeline Roofing Co. Enterprise does photo-documented inspections, and the photos are yours to keep either way.
The Invisible Defect: Nail Pattern and Stagger
Here’s the defect we find most often and that homeowners almost never look for. On a properly installed shingle roof, each shingle has a nailing strip, and fasteners must land inside it. The shingle courses must also be offset, or staggered, so the seams never line up in a vertical row. Get either one wrong and you’ve planted a slow failure that shows up years later as leaks, loose shingles, and a warranty claim the manufacturer may decline.
Why does the manufacturer care? Because improper nailing and stacking are install errors, not material defects. Read the fine print on a GAF or CertainTeed warranty and you’ll see language requiring installation to the manufacturer’s spec. A badly staggered, badly nailed roof can technically be excluded from coverage.
From the ground you can’t see the nails. But you can see the stagger, and that’s the tell.
How to spot it from a ladder or a window:
- Pick a clean area of the roof near a gable end where light hits it well.
- Look at the vertical seams between shingle tabs. On a proper install, those seams jog left and right going up the roof.
- If the seams line up in a straight vertical line at any point, the courses were stacked without a proper offset.
- Look at the shadow line where shingles overlap. Uneven overlap or shingles sitting flatter than neighbors can mean an out-of-place nail.
- Photograph the area with your phone zoomed in. The camera sees stagger better than your eye does at distance.
What we’ve seen in Enterprise neighborhoods: newer builds where the crew sped through and stacked the courses, especially on large, flat roof sections. The roof looks fine for a season. Then in the first monsoon, the seams lift and water finds the straight line. Nail pattern is one of the reasons we recommend homeowners keep their inspection photos. You can’t photograph what you didn’t shoot, and photos of the deck before shingles go down tell you more about stagger than anything you’ll shoot later. Ask your installer for those photos, in writing, before the job starts.
Starter Strip and Wind Uplift in Enterprise Monsoon Season
The least glamorous part of the roof is the starter strip at the eave, and it’s one of the most common weak points in a bad install. Starter strip is the first course laid along the edge. It seals the eave, sets the alignment for everything above it, and gives the first full shingle course a proper bond at the edge. Skip it, place it wrong, or nail it short and you’ve built a roof with a loose bottom edge. Then the monsoon gusts find it.
Enterprise gets serious wind in July and August, and the eave is the first place wind and water attack. We’ve seen starter strips that were cut too long and hung past the drip edge, or too short and left a gap under the first shingle tab. Both are fail points in a gust. Homeowners on the elevated lots where wind runs uphill across the neighborhood get hit hardest.
What to look for on the eave:
- Lift the edge of the first shingle tab at the eave with your eye only, never your hands. It should lie flat with the starter strip underneath it.
- Look down the eave line from one end. The edge should be straight and even, not wavy or stepped.
- Check that the starter strip doesn’t hang past the drip edge. If it does, wind gets under it.
- Look for any spot where the underside of the first course is exposed without coverage.
- After a windy day, walk the property and look for loose granules or shingle pieces in the yard. New shingles don’t shed granules after the install is complete.
The correct way to handle a starter-strip problem is a warranty call to the installer. Getting up on the eave to test it yourself is a fall risk, and it’s how homeowners turn a small defect into a serious injury. If you think the starter strip is wrong, photograph it from a ladder set on flat ground, and call a professional to confirm.
What a Photo-Documented Inspection Should Capture
We insist on photos, and we insist they’re taken from the actual roof, not the driveway. A driveway walkaround can’t see the defects that matter. What an inspection looks like when it’s done right is a photo set that documents the whole roof, deck to eave, and every transition.
A complete photo set from a proper inspection should include:
- The eave line: starter strip placement, drip edge, and the straightness of the edge.
- The ridge: ridge cap condition and the alignment of every shingle course below it.
- Every penetration: vents, chimney, skylights, plumbing stacks, and the flashing around each. This is where most leaks start.
- The valleys: where two roof planes meet and water concentrates. Anywhere the shingles or metal aren’t tight is a fail point.
- The deck and underlayment: photos taken during the tear-off, before shingles go on. This is the only way to prove the deck was sound and the underlayment was laid properly.
- The attic: ventilation, insulation, and any sign of past or present moisture.
Why does this matter for the homeowner? Because photos are the evidence you use when a problem shows up in year two. The contractor who took photos of the deck on day one has proof of what was done and can prove what wasn’t their fault. The contractor who shot a driveway walkaround has nothing.
We take photos from your actual roof and leave them with you, so when you call us in year three or year ten, you and we both know what’s underneath. We’re named for the ridge – the line where a roof proves itself – and that’s the point of taking pictures of the whole job, not the curb corner.
Interior Signs You Might Notice After Installation
Most of what matters about a new roof is outside. But some of the clearest post-installation warning signs show up inside the house in the first weeks and months after the job. Homeowners miss them because they’re not looking. Attic and upper-floor changes that weren’t there before the roof are the ones worth flagging.
What to watch for inside:
- New attic condensation. If you find moisture on the underside of the roof deck or on rafters after installation, the ventilation balance was disturbed. Install crews sometimes close off or block a vent in the tear-off and don’t reopen it.
- Daylight gaps in the attic. Any visible light around vents, ridge, or gable end after the job is a sign something wasn’t sealed. A dark attic is a closed attic.
- Higher attic temperatures. If the upper floor is noticeably hotter in the weeks after installation, ventilation was likely compromised.
- New dark streaks on the ceiling. Fresh staining after a new roof is a flashing defect, not an old leak.
- A chemical or asphalt smell inside. A slight smell on a hot day right after install is normal. A smell that persists past a month or shows up in rooms away from the roof is a sign of a possible water intrusion somewhere, and worth a look.
Keep a written log of anything unusual you notice in the first 90 days. Dates and photographs do the talking if you need to call the installer. And don’t self-diagnose from the inside – an attic can be hard to read without the right eye. Our technicians are background-checked and arrive in uniform, and we’ll tell you what we see.
Pre-Replacement Warning Signs That the Roof Is Failing
The other question deserves its own list. If you’re standing at the front of the house wondering whether the roof you have is done, these are the signs that matter. They’re about wear, not workmanship.
The roof is likely due for replacement if you see:
- Shingle granules in the gutters and at the base of downspouts. Granules are the shingle’s armor. Finding them by the handful means the roof is shedding, and shedding roofs don’t come back.
- Curling, cracking, or missing shingles. Look at the south and west facing slopes first. That’s where the Enterprise sun is hardest on the roof.
- Daylight coming through the roof deck in the attic. If you can see the sun through the boards, water can get in.
- Sagging rooflines. A wave or dip along the ridge or eave lines means the deck or framing is under stress.
- Water stains on ceiling or walls after a storm. Even a slow, ring-shaped stain is a sign the roof is past its useful life.
- Shingles older than 20 years. Standard asphalt shingles wear out around that age. If the previous owner can’t tell you when the roof was installed, get an inspection.
If you’re seeing two or three of these at once, it’s time to get a written estimate. You don’t need to know the exact age of your roof to get a clear quote – you need a contractor willing to put the number on paper and stand behind it. Roof Replacement & Installation in Enterprise offers free estimates, and the number on the estimate is the number on the invoice.
Your 30-60-90 Day Self-Inspection Checklist
You don’t need to climb the roof to catch the worst problems. Most of this checklist can be run from the ground, from a window, or from the attic hatch. This is your 30-60-90. Print it, keep it, and mark the dates.
Day 30:
- Walk the yard at the base of every wall. Look for loose granules, shingle pieces, and nails. Fresh nails on the ground after install are a defect sign.
- From a second-story window, photograph the eave line and the ridge. Look for uneven edges.
- Open the attic hatch and look for daylight gaps around vents, ridge, and gable ends.
- Look at the underside of the roof deck for any condensation or moisture on the rafters.
Day 60:
- Repeat the Day 30 photographs from the same angles. Compare. The camera catches what the eye misses.
- Check the gutters for fresh granule collection. There shouldn’t be much after the first month.
- Turn on the ceiling fans in upper rooms. Look for new streaks or stains on ceilings after the first warm stretch.
- Look at the valleys and any flashing around chimney, skylights, or plumbing stacks from a safe angle. Flashing should sit tight and flat.
Day 90:
- Repeat all photographs again, from the same angles. This gives you three dated sets.
- Check the attic for new condensation or daylight after any rain event.
- Look for wind-uplift signs at the eave: lifted or loose shingle edges, or shingles that look flatter than their neighbors.
- Look for any new dark streaks on the ceiling or walls.
At 90 days you now have a dated photographic record of the entire roof from install to the end of the workmanship window. That’s exactly when a square deal matters most, and exactly when a written guarantee earns its keep.
A safety note: don’t climb onto the roof to run this checklist, especially in the heat. Ladders on a sloped roof are dangerous, and a fall is worse than any roof defect. Use the ground, a window, and the attic hatch. For anything that looks off, get a professional on the roof.
How to Use Your Warranty Before the Window Closes
Here’s the practical reason to catch install defects early. Warranty claims are easier to win in the first 90 days than in year three. The workmanship window is when the installer is on the hook, the defect is clearly theirs, and the evidence is fresh. In year three, the argument shifts to whether a defect was install or normal wear.
What a written workmanship guarantee should say, in plain language:
- What the guarantee covers, spelled out, not buried.
- How to report a problem.
- How quickly the contractor will return.
- That the fix comes at no cost to you.
The 90-Day Done Right Promise is our written workmanship guarantee. No arguing, no paperwork runaround. If it’s not right, we make it right. That’s the whole policy. The guarantee runs 90 days from completion, which is why the checklist matters – the 90-day window and the self-inspection timeline line up.
One thing to ask about before the install starts: who actually manufactures the materials being installed, and is your installer authorized for that brand. Authorized installers of GAF, CertainTeed, and Owens Corning work within the manufacturer’s installation specs, and the warranty depends on that. Our team is an authorized installer of seven leading lines, including Tamko and Boral.
Common Mistakes to Avoid
- Judging the roof from the street. A clean curb view can hide a badly staggered shingle pattern and a short starter strip. Photograph the eave and the ridge from a window at minimum.
- Not keeping the inspection photos. The most useful photos from your install are taken during the tear-off, before the shingles go down. Ask for them before the job, in writing. If they aren’t offered, ask again.
- Confusing a pre-replacement sign with a post-installation one. Granules in the gutter on a month-old roof mean something very different than granules in the gutter of a fifteen-year-old roof.
- Never looking inside the attic. New condensation, daylight gaps, or a hotter upper floor after installation are ventilation problems that most homeowners never check for.
- Waiting past 90 days to report a defect. In the desert heat and monsoon wind of Enterprise, small defects become leaks fast. A lifted starter strip in July becomes a stain on the ceiling by September.
- Hiring a storm-chaser after a big blow. The truck that shows up the week after a monsoon is often out of state by the next one. Standing behind a roof takes a company that plans to be here for the next storm.
- Taking the cheapest bid. The lowest number on a roof quote usually means substitute material, fewer nails, or a crew paid per square to hurry. A square deal is a fair bid, not the lowest one.
See the difference
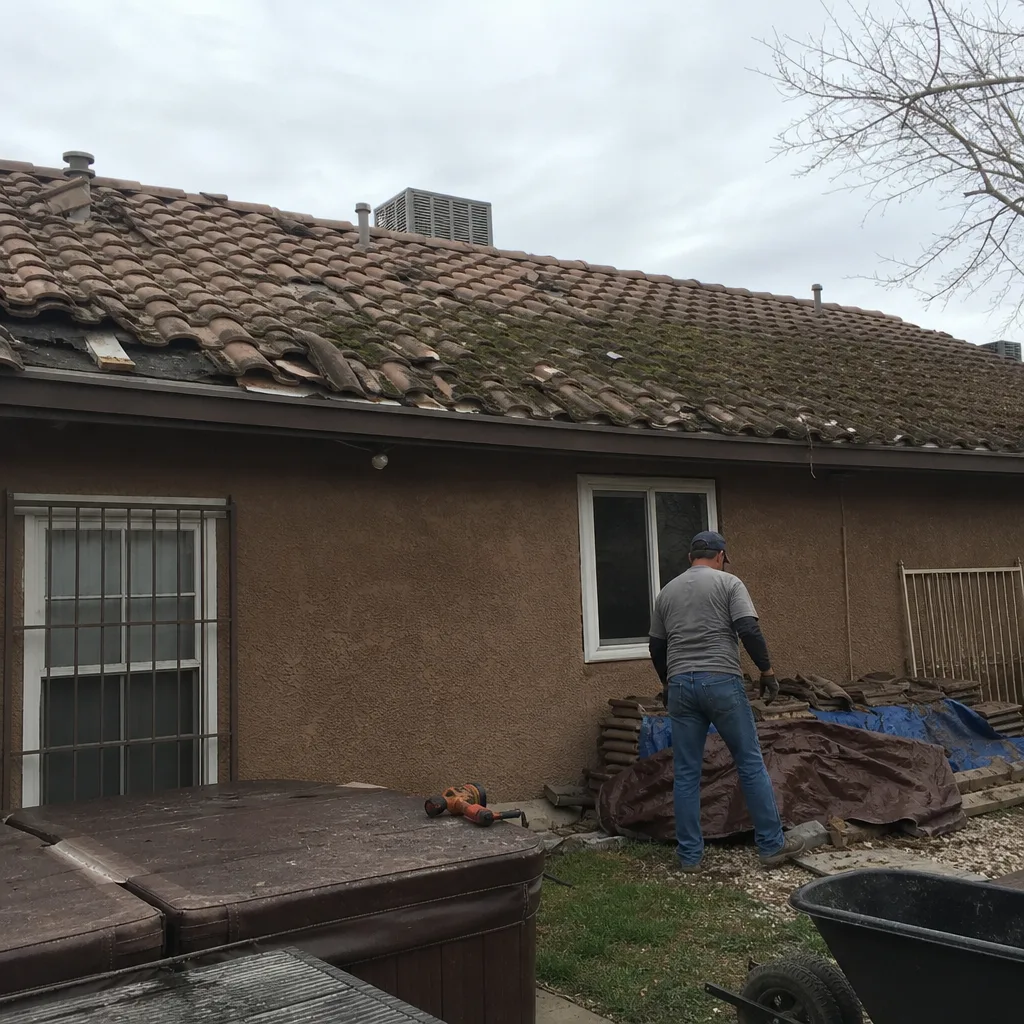 Before
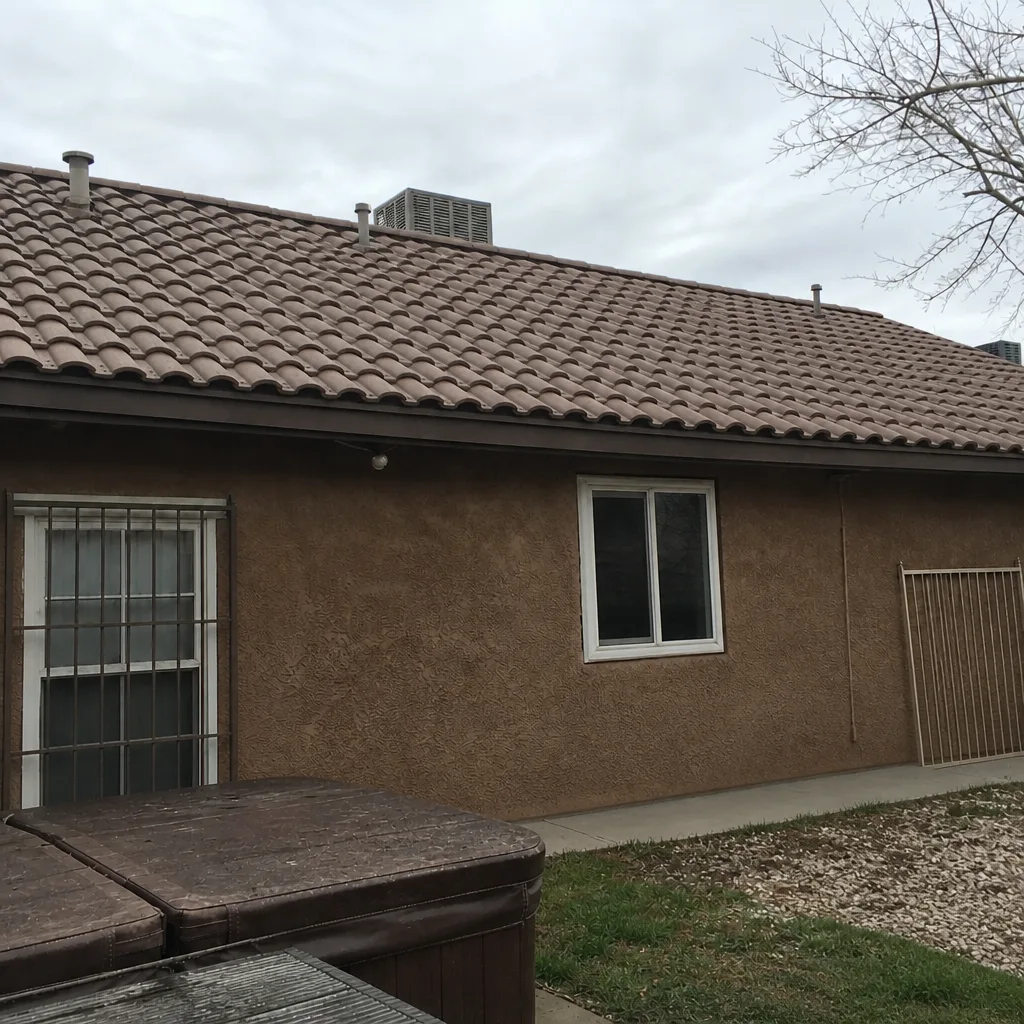 After
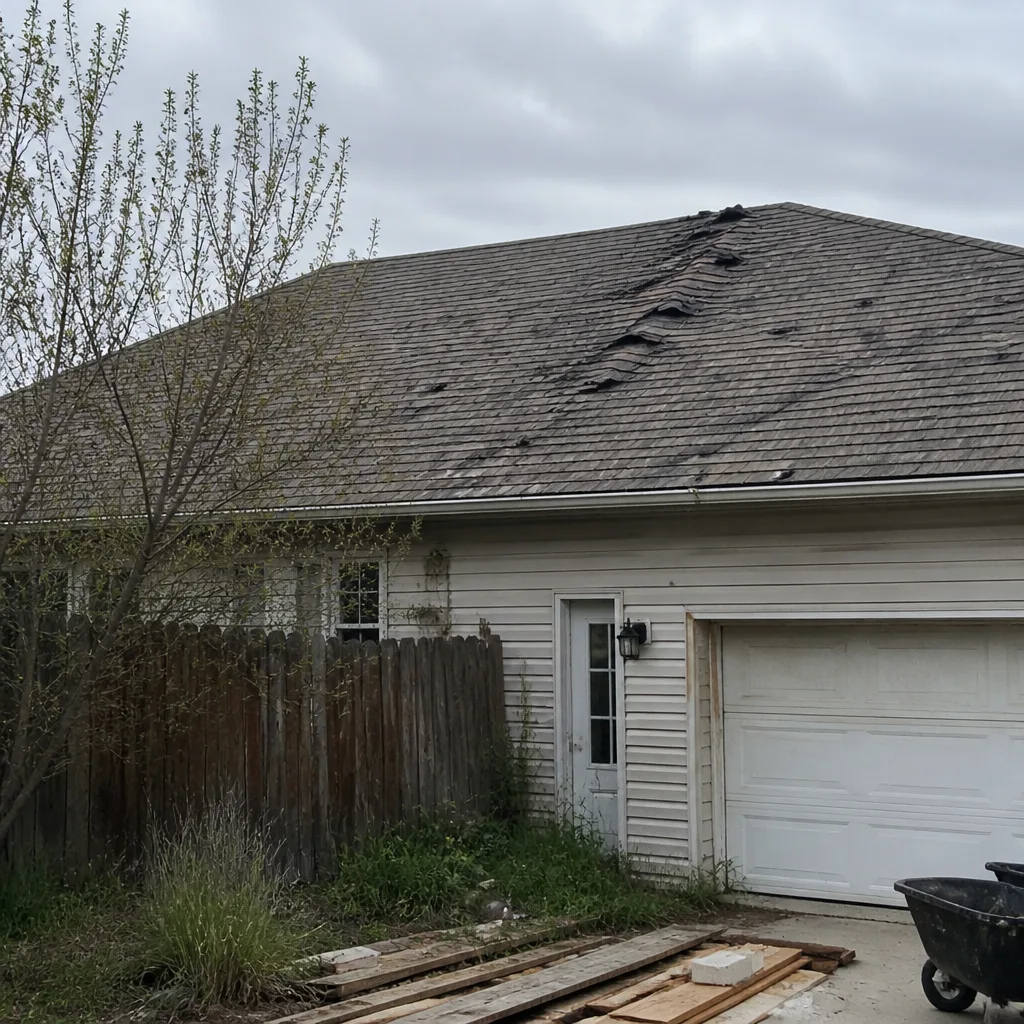 Before
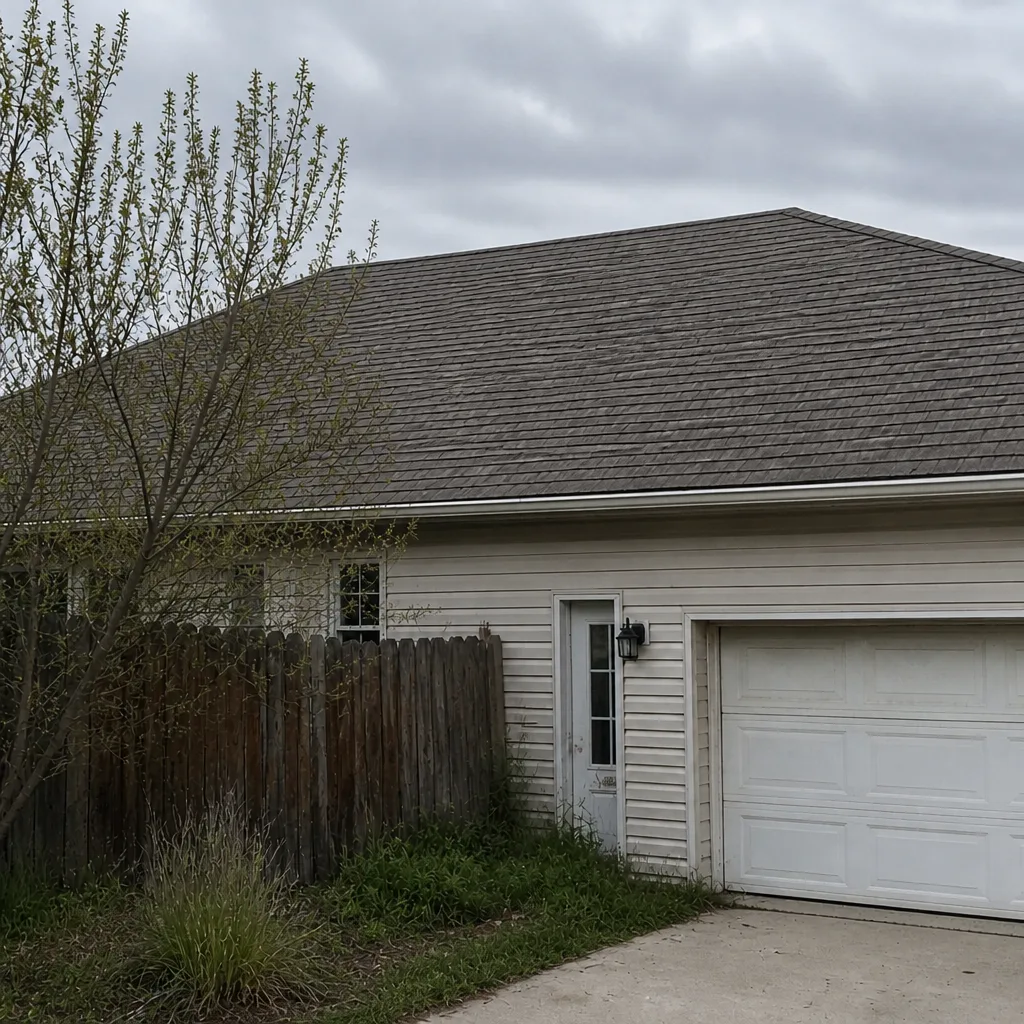 After
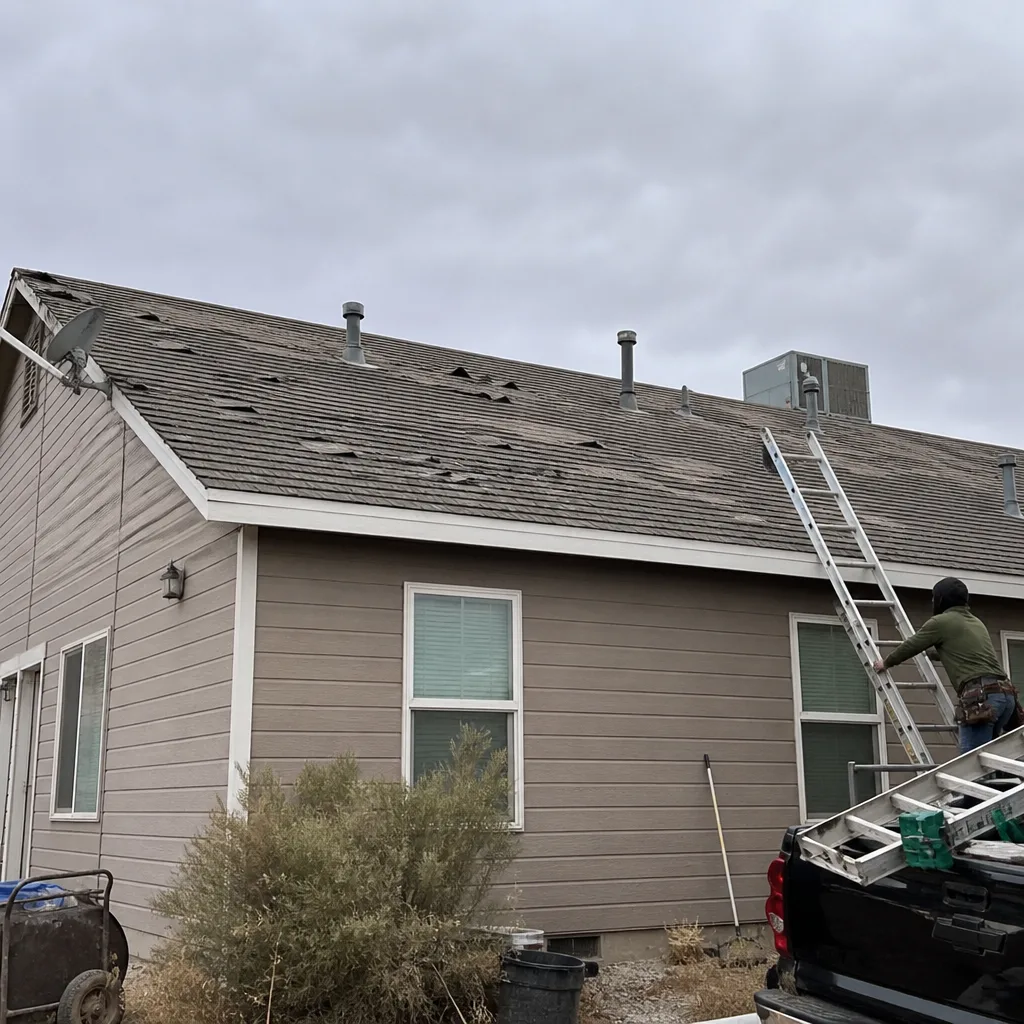 Before
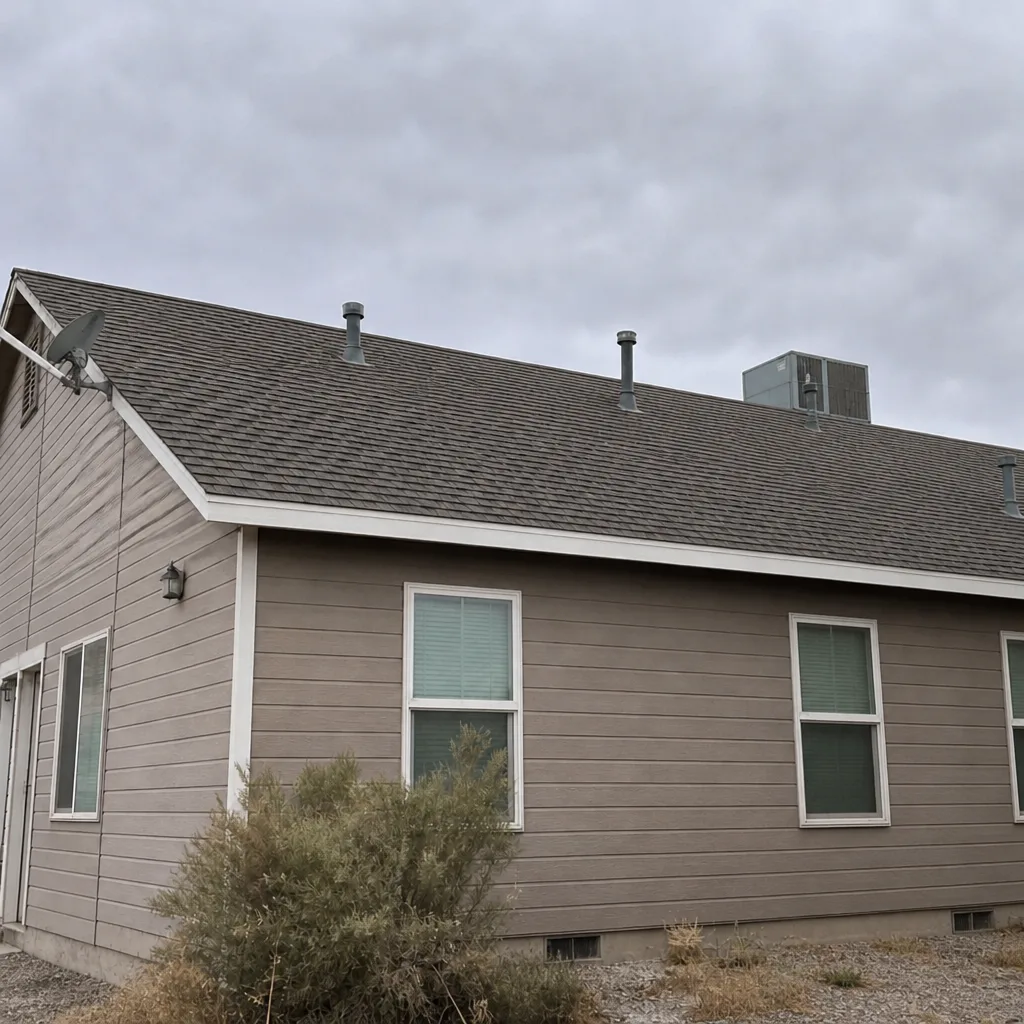 After
When to Call a Professional
Call a professional if you find any of the following. Not tomorrow. Today.
- Any daylight visible in the attic after installation.
- New condensation on the roof deck or rafters.
- Loose shingles at the eave after a wind event.
- Straight vertical seams on a new roof (bad stagger).
- A starter strip that hangs past the drip edge.
- Dark stains or fresh streaks on any ceiling or wall.
- Granules or shingle pieces in the yard more than a month after install.
- A roof older than 20 years with two or more pre-replacement signs.
We do free estimates in Enterprise, and we’ll tell you what we see with photos taken from the actual roof. We’re state-licensed and insured, and our technicians have up to 10 years of experience. We’re your neighbors, not a truck from out of state. Call (844) 228-4119 for a free estimate and a straight answer.
Frequently Asked Questions
The most reliable early signs are straight vertical lines where shingle seams should be staggered, a starter strip that sits crooked or past the drip edge, and new condensation or daylight gaps in the attic after install. Photograph these areas from a ladder set on flat ground and from a second-story window. If you find any of them in the first 90 days, call the installer before the workmanship window closes. Call (844) 228-4119 for a free second opinion on any written estimate.
You can’t see the nails themselves from the ground, but you can see the stagger. On a proper install, the vertical seams between shingle courses jog left and right going up the roof. On a bad install, those seams line up in a straight vertical line. That straight line usually means shingles were stacked without a proper offset, and the nails underneath are out of place. Call (844) 228-4119 and we’ll look at your photos and tell you what we see.
Yes. Manufacturer warranties cover material defects, not install errors. Improper nailing, improper stagger, and a missing or short starter strip can all fall under the exclusion language for installation not done to spec. That’s why it matters to use an authorized installer of the brand being installed. Ridgeline installs GAF, CertainTeed, Owens Corning, IKO, Atlas, Tamko, and Boral. Call (844) 228-4119 to talk through your warranty before the window closes.
Report any problem immediately, but in practice the workmanship window is the important one. A written workmanship guarantee runs on its own timeline, and it’s easier to win a claim inside that window than outside it. Our 90-Day Done Right Promise runs 90 days from completion: if it’s not right, we come back and make it right. Call (844) 228-4119 to report anything that looks off.
New attic condensation after installation almost always means the ventilation was disturbed. Install crews sometimes close off or block an intake or exhaust vent during the tear-off and don’t reopen it. That traps moist air against the roof deck and shows up as condensation on rafters and sheathing. If you see it in the first month, call the installer. Call (844) 228-4119 for a free estimate if you’re evaluating the work.
Use a local contractor with a written workmanship guarantee and a track record in your town. Storm-chasers often leave the area before their work shows its first failure. A local company that plans to be here for the next monsoon and the one after that has a real reason to do the job right. We’ve been standing behind local roofs since 1984. Call (844) 228-4119 for a free estimate.
The Bottom Line
Most bad roof installs don’t announce themselves with dramatic leaks. They show up as a straight vertical seam, a starter strip that’s a half-inch too long, or a ventilation gap in an attic nobody checked. Catching those in the first 90 days is the whole game. A written workmanship guarantee only pays off if you use it, and the 30-60-90 checklist is how you do that. Keep your inspection photos. Keep a written log. Don’t climb the roof. If you find anything you’re not sure about, call (844) 228-4119 for a free estimate and a written line-item quote. A square deal is the one you never have to revisit.
For more on the services behind this guide, read about Roof Repair in Enterprise and Specialty Roofing in Enterprise. If you’re pricing a full roof, the replacement page covers the estimate process in detail. And if a storm has just rolled through Enterprise, the fastest path to a straight answer is a call.
Written by the team at Ridgeline Roofing Co. Enterprise.