
Last updated November 18, 2026
 Architectural shingles
 Metal roofing
 Tile roofing
 GAF
 Owens Corning
 Flat & low-slope
Free roof inspection with deck photos before we talk money - GAF and Owens Corning certified installation
Roof Replacement & Installation Maintenance Schedule: What to Do and When
Most roofing warranties require documented owner maintenance to stay valid, yet the paperwork almost never says what that maintenance should look like. That gap quietly voids coverage for thousands of homeowners every year, and it usually surfaces at the worst possible moment: the first time you actually file a claim. A new roof is not a finished product on the day the crew leaves. It is a system on probation for its first three years, and that window is when installation workmanship either proves itself or starts to fail out of sight. This guide lays out a plain schedule for Enterprise homeowners who plan to stay put and want the roof done once.
Quick Answer
A new roof needs professional inspection once a year and a homeowner walk-around twice a year, timed to Enterprise’s two harsh seasons: before monsoon (May) and after peak UV (October). Year one is the most important because it catches installation flaws, year two confirms flashing and pipe boot seals, and year three locks in the warranty record. Between professional visits, you clear debris, check gutters, and log what you see.
Styles & brands we work with
- Architectural shingles
- Metal roofing
- Tile roofing
- GAF
- Owens Corning
- Flat & low-slope
Table of Contents
- Why the First Three Years Are the Real Test
- Enterprise’s Two Mandatory Inspection Windows
- Year One: The Workmanship Audit
- Year Two: Seals, Fasteners, and Flashing
- Year Three: The Warranty Handoff
- The Three Highest-Failure Zones in Any New Installation
- Keeping Records That Satisfy the Warranty
- What You Do vs. What a Professional Does
- Common Mistakes to Avoid
Why the First Three Years Are the Real Test
A roof installation is a few thousand fasteners, a few hundred feet of sealant, and dozens of overlapping planes all working together. When it fails early, it almost never fails in the field of shingles. It fails at the seams, the transitions, and the penetrations where one material hands off to another. Those handoffs don’t reveal themselves on installation day. They reveal themselves after a full cycle of expansion, contraction, sun, and water. In our experience, roughly the same handful of spots cause the majority of early callbacks, and a scheduled look at each one catches the problem while it is still a small repair.
The first three years matter for a second reason. A written workmanship guarantee, like our 90-Day Done Right Promise, protects you against installation error. But a manufacturer’s material warranty is a separate contract, and it often asks you to show that the roof was maintained. Nobody explains this at signing. If you can’t produce a simple maintenance log three years from now, you may be arguing about coverage instead of getting a repair. Think of the schedule in this guide as both a quality check and a paper trail.
Enterprise roofs live under conditions that accelerate the timeline. Intense sun on a low-slope or south-facing plane breaks down sealant faster than in cooler climates, and monsoon wind-driven rain finds every weak flashing detail. That is why the schedule below is built around Enterprise’s seasons rather than a generic spring-and-fall calendar written for a different part of the country.
Enterprise’s Two Mandatory Inspection Windows
Most national maintenance advice says “inspect in spring and fall.” That advice was not written for the high desert. Enterprise has two distinct stress seasons, and each one attacks the roof differently. Build your calendar around them.
- Pre-monsoon window (roughly April into May): Before the summer storms arrive. This is when you want every flashing detail, valley, and seal checked so it can survive wind-driven rain. Loose granules, lifted shingle tabs, and dried-out pipe boot collars show up now and should be addressed before the first big storm.
- Post-UV window (roughly September into October): After the worst heat and sun. This is when heat damage shows: brittle sealant, cracked boot rubber, and fasteners that have backed out from thermal movement. This is also the right time to clear monsoon debris from valleys and gutters.
For a brand-new roof in Enterprise, add a third, earlier checkpoint: a walk-around within the first 30 to 60 days. That is when any obvious installation issue, like a lifted ridge cap or a nail that missed its mark, is easiest to spot and cheapest to fix. It also opens your maintenance record with a documented date, which is exactly what a warranty reviewer likes to see. Our roof replacement and installation service in Enterprise includes a photo-documented inspection at handoff for this reason, and it’s worth asking any contractor to do the same.
Year One: The Workmanship Audit
Year one is not really about maintenance. It is about confirming the installation was done right. A roof that was installed correctly will settle in and hold. One that wasn’t will start to show you where, and it usually does so within the first year. Treat every item below as a quality-control question, not a chore.
- Inspect after the first heavy rain. Walk the perimeter and check interior ceilings near walls, chimneys, and skylights for any new staining. Water inside after one storm points to a flashing or penetration issue, not a shingle issue.
- Check the ridge cap line. Stand back and look at the peak. Ridge caps should lie flat and even. Lifted or separated caps in year one usually mean fasteners weren’t set to the right depth.
- Look at pipe boots. The rubber collar around plumbing vents dries and cracks fast in Enterprise sun. A cracked boot in year one is an installation or material problem worth documenting.
- Confirm the granule loss. A little loose grit in the gutters right after installation is normal. Heavy granule loss in year one is not, and it should go in your log with a date and a photo.
- Photograph everything. Date-stamped photos of ridge, valleys, boots, and flashing give you evidence if a warranty question ever comes up.
If anything on this list looks off, call it in during year one rather than waiting. Early problems are covered far more cleanly than late ones. Ridgeline installs GAF, CertainTeed, Owens Corning, and other leading lines, and each comes with its own documentation requirements. Knowing your brand’s warranty terms before year one ends is a simple step that saves real trouble later.
Year Two: Seals, Fasteners, and Flashing
By year two, the roof has been through a full summer and a full monsoon cycle. The installation is either behaving or it isn’t, and the stress points are now the sealants and fasteners that hold the details together. Sealant shrinks as it cures and ages. Fasteners work loose with thermal movement. Year two is when you catch both.
- Pipe boot seals: Re-check every plumbing vent collar. The rubber should be flexible, not cracked or pulled away from the pipe. A few dollars of prevention here avoids a ceiling stain later.
- Step and counter flashing: Look at where the roof meets walls, chimneys, and dormers. Sealant along the flashing edge should be intact, with no gaps or hairline cracks. This is the single most common leak source on any roof.
- Valley condition: Monsoon debris collects in valleys. Make sure they are clear and that the valley material shows no lifting or separation.
- Exposed fasteners: On any exposed-fastener roof (common on specialty and low-slope sections), check the washers. Backed-out or missing screws should be replaced, not just tightened.
Year two is also the right time to schedule the professional inspection that anchors your annual routine. A trained eye sees things from up on the roof that you simply can’t see from the ground with binoculars, and a documented report becomes part of your permanent record. If your roof has a specialized component, like a low-slope section or a flat porch roof, our specialty roofing in Enterprise covers those details specifically.
Year Three: The Warranty Handoff
Year three is where the schedule pays off in paperwork. By now you should have a stack of dated inspections and photos covering three full seasons. That stack is what turns a warranty conversation from an argument into a formality. The goal of year three is not just another inspection. It is to review everything you’ve logged and make sure your coverage is intact and documented.
- Pull your documents. Gather the manufacturer warranty, your workmanship guarantee, and your maintenance notes into one folder.
- Review your logs against the warranty. Confirm you have at least the annual inspections your manufacturer requires, dated and signed.
- Address anything still open. Any unresolved leak, loose flashing, or cracked boot from years one and two should be closed out now, while it is small.
- Set your ongoing calendar. After year three, the annual inspection becomes routine. Keep the same two Enterprise windows (pre-monsoon and post-UV) and the log keeps growing.
One quiet advantage of using the same local contractor across those three years is continuity. A company that planned to be in town for decades can look at your year-one photo and compare it to the roof today. A storm-chasing outfit that was here last spring is gone. Ridgeline has been standing behind local roofs since 1984, and the written 90-Day Done Right Promise reflects the same standard: if it isn’t right, we come back and make it right, no paperwork and no arguing.
The Three Highest-Failure Zones in Any New Installation
If you only check three places on your roof, check these. Nearly every early leak we see traces back to one of them, and all three are cheap to service and expensive to ignore.
1. Flashing. Flashing is the metal that bridges the roof to walls, chimneys, skylights, and vents. It is where two different materials and two different planes meet, so it is where water is most determined to get in. The sealant along flashing dries out and pulls back over the first few years, opening a hairline gap. That gap is the single most common source of interior leaks we’re called to fix in Enterprise.
2. Ridge cap. The ridge is the top line of the roof, where two planes meet and where the roofer proves the job. Ridge caps must overlap correctly and be fastened to the right depth. Lifted or separated caps let wind-driven rain in and are the first sign of a workmanship issue. They are also the easiest thing to spot from the ground, so they are worth a look every season.
3. Pipe boot seals. Plumbing vents pierce the roof on every home, and each one is wrapped by a rubber boot. In high-desert sun, that rubber is the fastest-aging thing on the roof. A boot that cracks in year two or three is normal wear, and replacing it is a small job. The mistake is ignoring it until the ceiling stains.
Keeping Records That Satisfy the Warranty
The easiest way to protect a manufacturer warranty is to keep a maintenance file, and the simplest way to keep a file is to make it a habit at inspection time. You don’t need anything fancy. A folder in a drawer, or a folder on your phone, works fine. What matters is consistency and dates.
- Log the date and what you checked. A single line per visit covers most of it.
- Keep photos. Date-stamped shots of ridge, flashing, boots, and valleys show condition over time.
- Hold onto inspection reports. A signed report from a professional inspection is the strongest piece of evidence you can keep.
- Keep receipts for any repair. A replacement boot or a flashing repair is proof you maintained the roof.
When you need repair work, start with our roof repair in Enterprise page or call to talk it through. Either way, we document every inspection with photos taken from your actual roof, not a scary speech in the driveway, and that documentation feeds straight into your maintenance record.
What You Do vs. What a Professional Does
There is a clean split between what a homeowner should handle and what belongs to a trained professional. Getting this line right keeps you safe and keeps your warranty clean. From the ground, you do the routine watching. On the roof, a professional does the real work. We do not recommend climbing on the roof yourself to inspect or repair anything, and that’s not caution for its own sake. Falls from roofs are serious and common, and heat and height make an already risky job worse.
- Homeowner tasks (ground level): clear leaves and debris from gutters, sweep valleys visible from a ladder at the edge, watch interior ceilings for stains after storms, and log dates and photos.
- Professional tasks (on the roof): inspecting flashing, ridge caps, boots, and fasteners; repairing or replacing sealants; documenting conditions with photos; and signing an inspection report for your records.
The annual professional inspection is the anchor of the whole schedule. It is the one visit that catches the details you can’t see from below and produces the documentation a warranty requires. Your technicians here have up to 10 years of experience, arrive background-checked and in uniform, and treat a roof the way they’d treat work on their own mother’s home.
Common Mistakes to Avoid
- Treating a new roof as maintenance-free. It isn’t. The first three years decide whether the workmanship holds, and skipping inspections wastes that window.
- Waiting until a leak shows inside. By the time water reaches your ceiling in Enterprise, it has usually been running behind flashing for a while. The stain is the last thing that happens, not the first.
- Ignoring the pipe boots. Sun cracks that rubber faster here than in cooler climates. A cracked boot is a small repair today and a ceiling repair later.
- Keeping no records. If you can’t show maintenance, a warranty claim can stall. A dated log and a few photos prevent the argument.
- Letting monsoon debris sit in valleys. Wind-blown grit and leaves trap moisture and accelerate wear. Clear them after each storm season, not once a year.
- Hiring a storm-chasing crew for warranty work. A company that isn’t around next spring can’t honor a workmanship guarantee. Choose a local contractor who plans to be here in thirty years.
- Climbing on the roof to diy it. Heat, height, and brittle materials make this the wrong job to attempt from a ladder. Leave the roof surface to a professional.
When to Call a Professional
Call in a professional for anything on the roof surface: flashing repairs, ridge cap work, pipe boot replacement, and any inspection that needs documenting. Call right away if you see interior staining after a storm, a lifted or missing ridge cap, a visible gap around a vent, or granule loss that looks heavier than a little grit in the gutters. Any of those in the first three years points to a workmanship or material question worth documenting early. For older roofs beyond year three, the annual inspection is the routine to keep. Ridgeline Roofing Co. Enterprise offers free estimates in Enterprise, and the number on the estimate is the number on the invoice. Call (844) 228-4119 to schedule a photo-documented inspection.
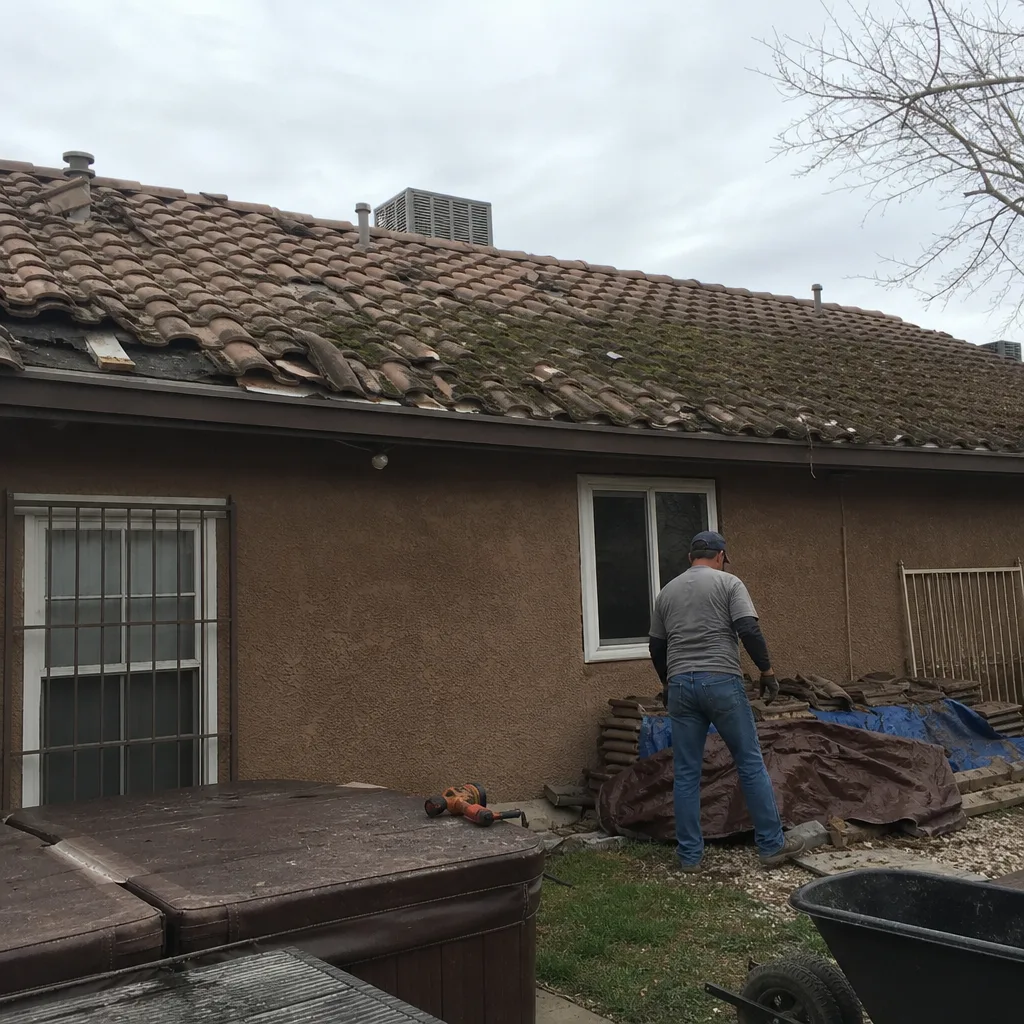
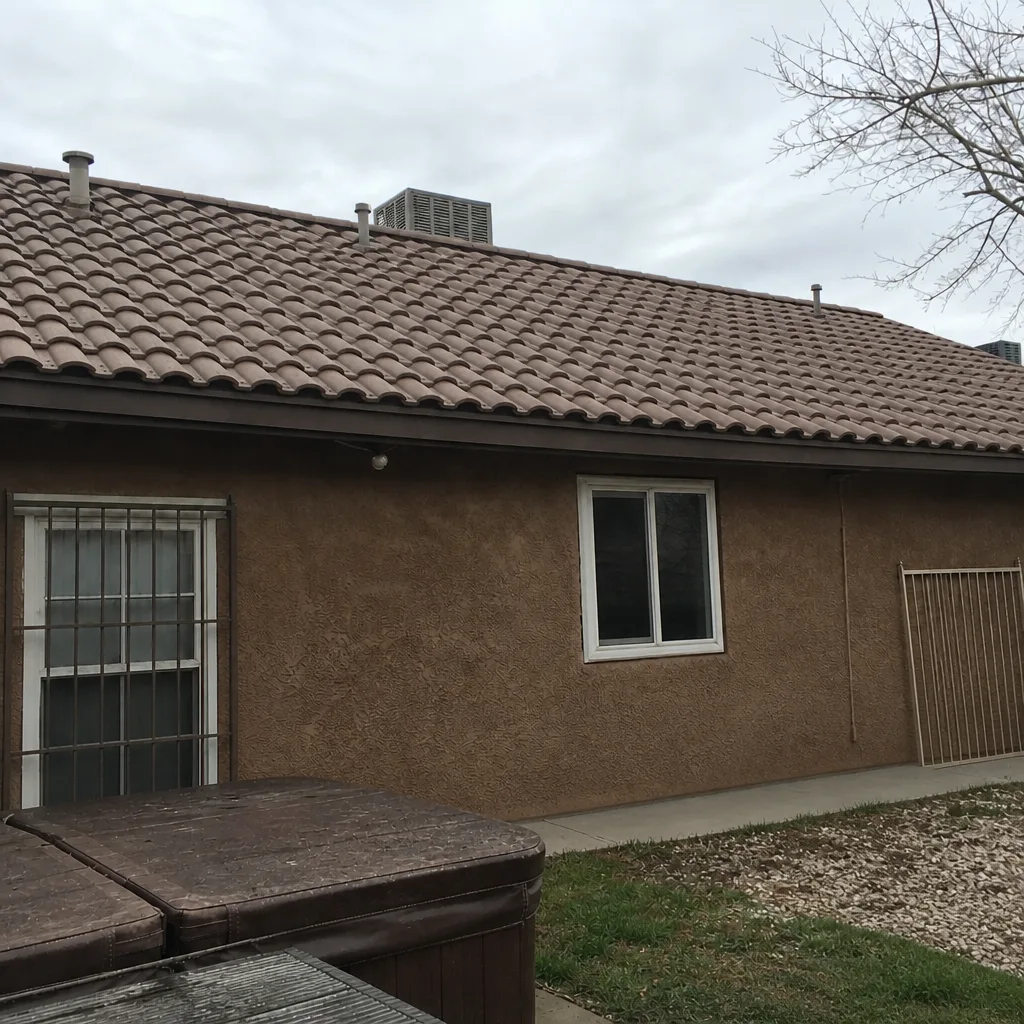
See the difference
 Before
 After
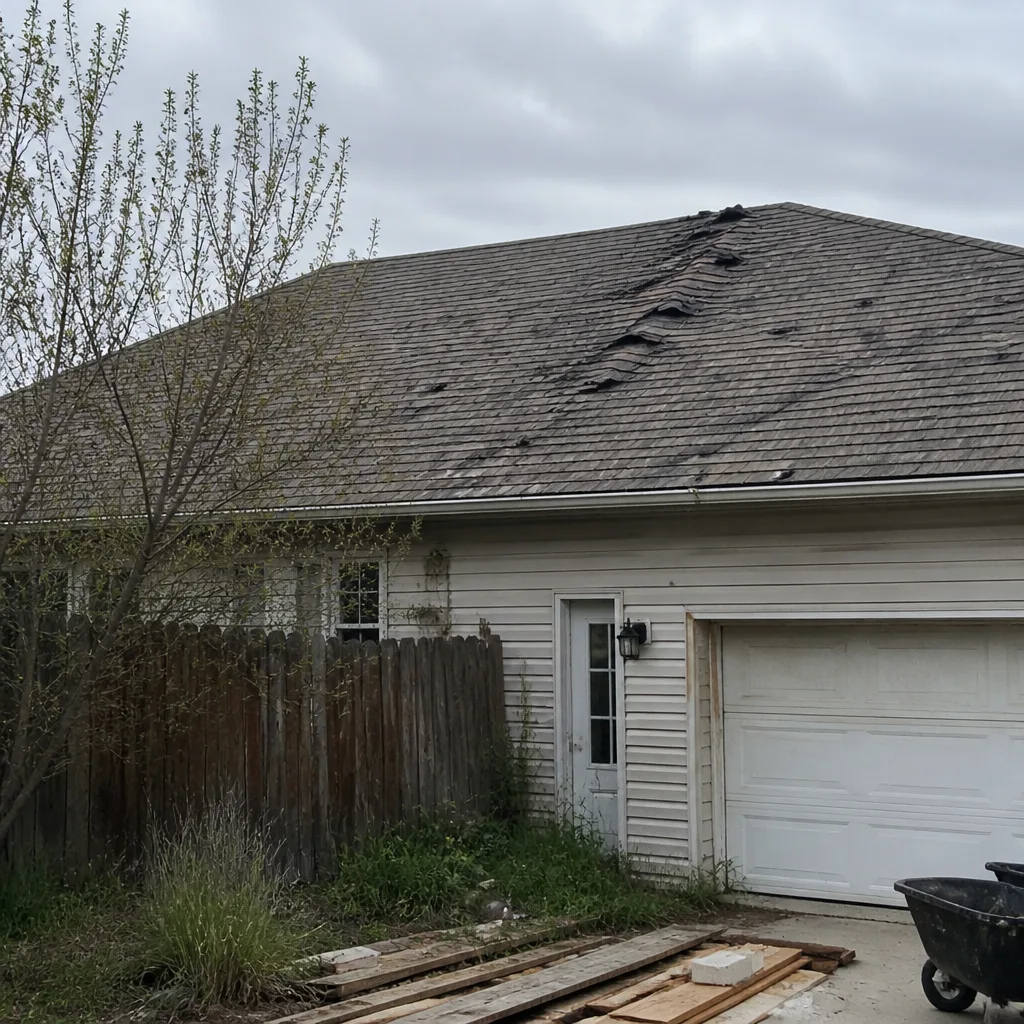 Before
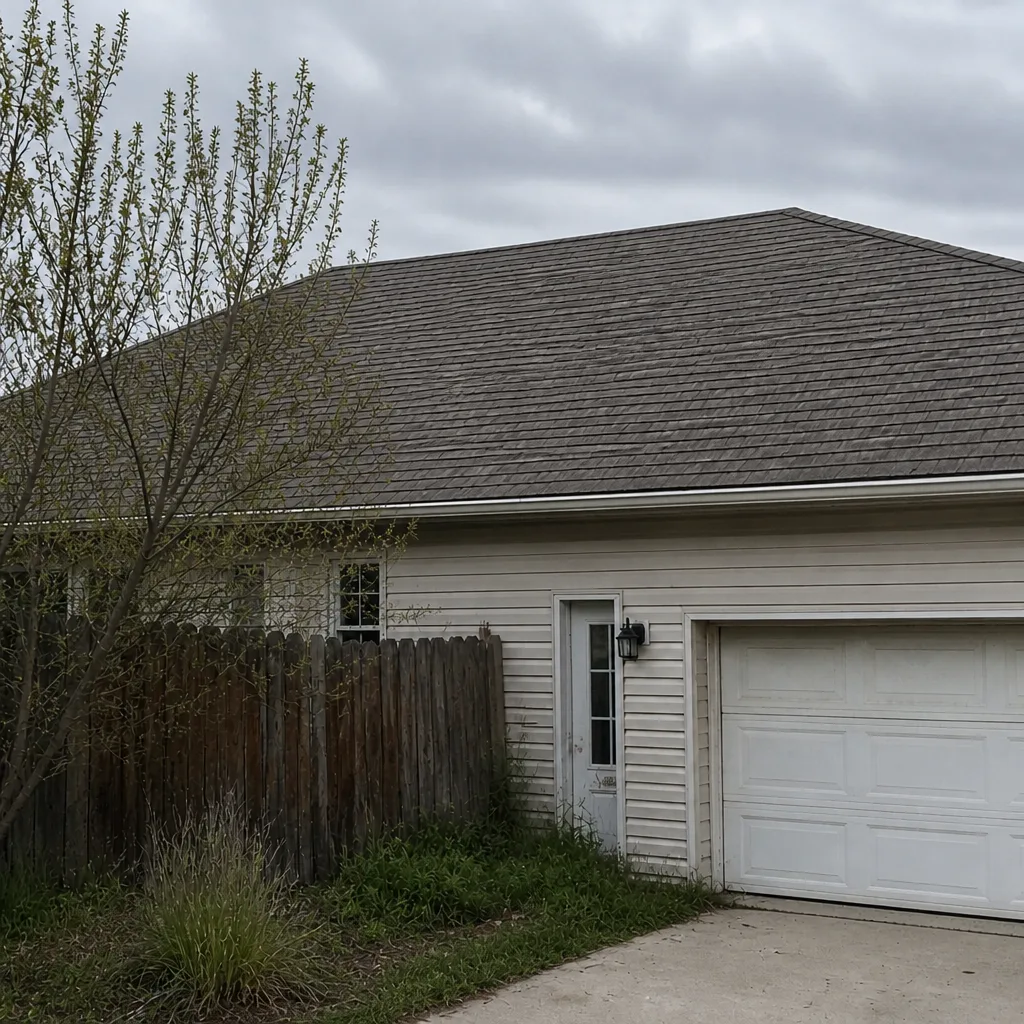 After
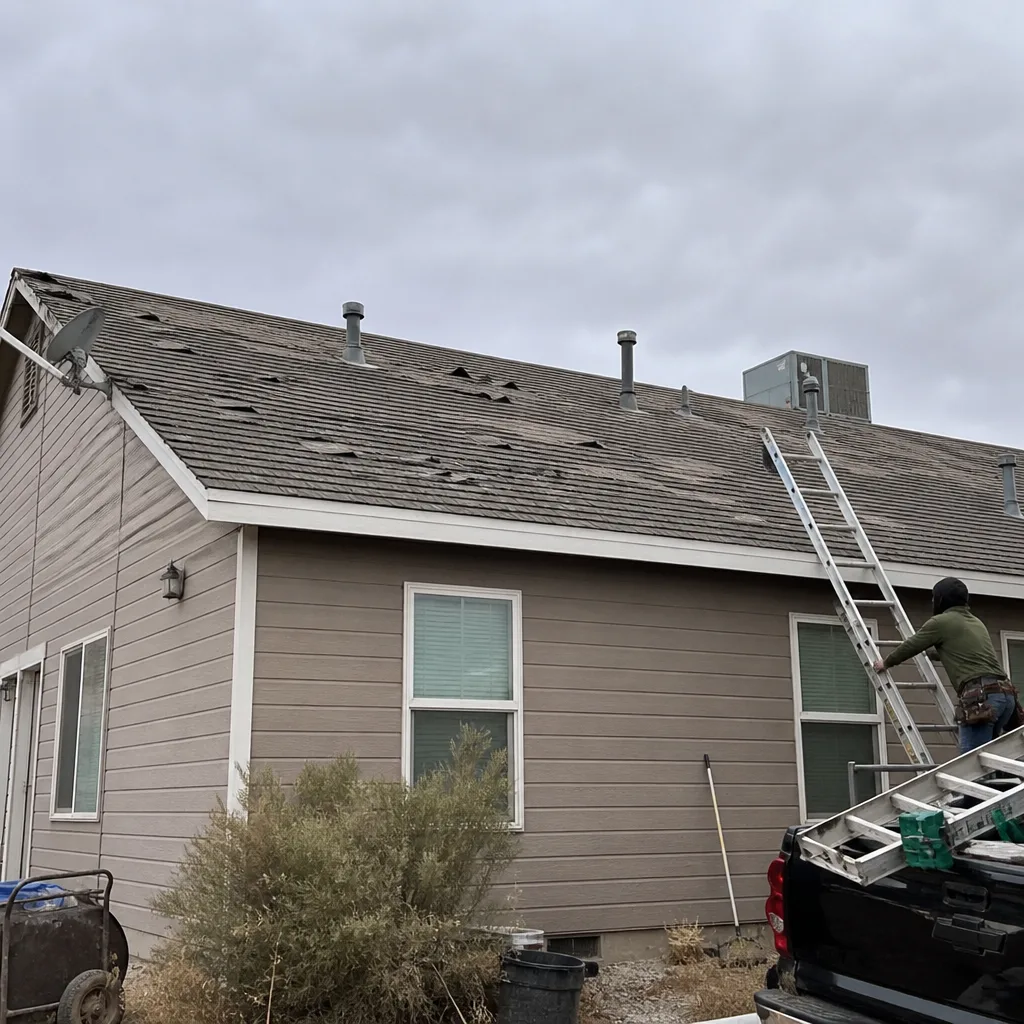 Before
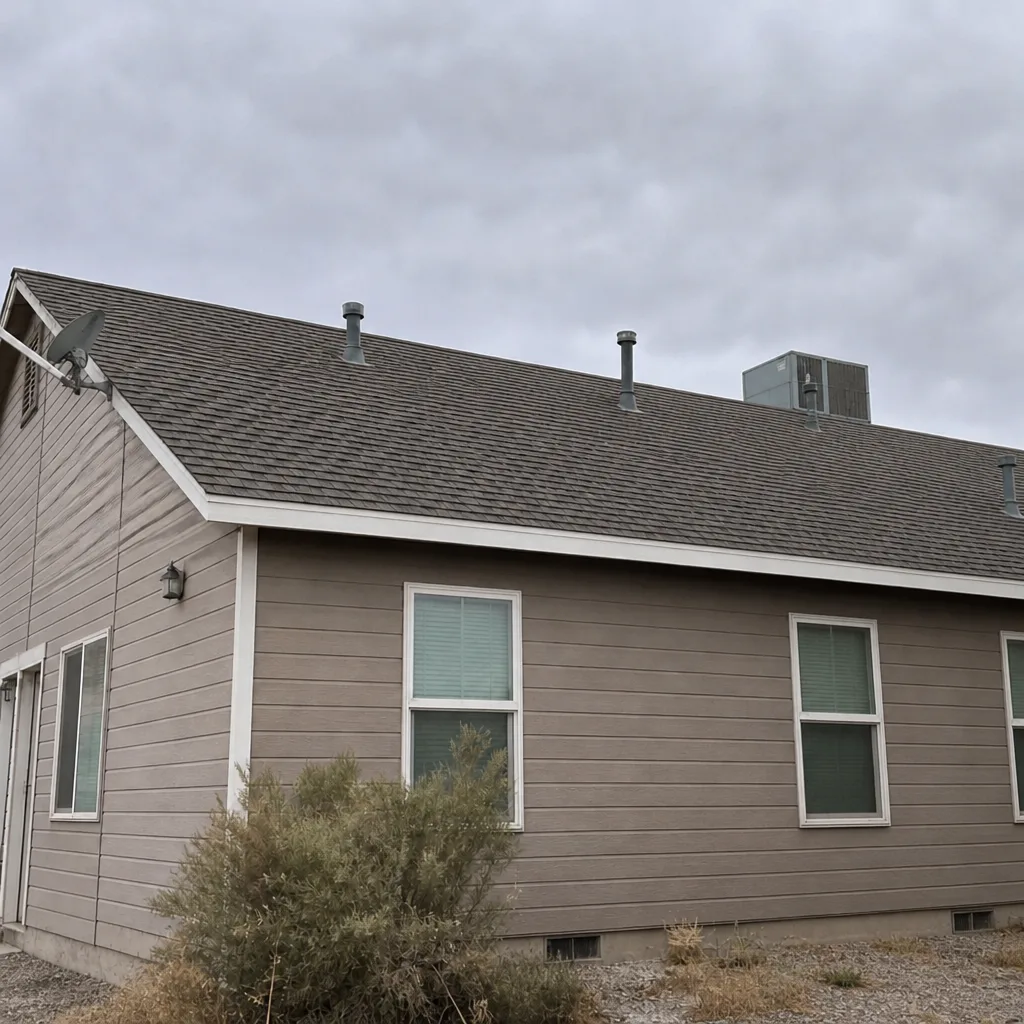 After
Frequently Asked Questions
Twice a year for a homeowner walk-around, timed to Enterprise’s pre-monsoon and post-UV windows, plus one professional inspection annually. In the first year, add an early 30-to-60-day check to catch installation issues while they are small. Call (844) 228-4119 for a free inspection estimate.
Many manufacturer warranties require documented owner maintenance, and a missing record can complicate a claim. That is why a dated log and inspection reports matter as much as the roof itself. We keep photo-documented inspection reports to help you stay covered.
Flashing at walls, chimneys, and skylights; ridge caps along the peak; and the rubber seals on pipe boots. These are the handoff points where materials meet, so they fail first and fail most. A planned check of each every season catches them early.
No, and we don’t recommend it. Roofs are dangerous to walk, and heat and brittle materials add risk. Homeowners should handle ground-level checks, gutter clearing, and record-keeping, and leave the roof surface to a trained professional.
With a routine that includes both inspection windows and documented maintenance, a properly installed roof holds up far longer than one left alone. Enterprise’s sun and monsoon cycle put real stress on detail work, so the schedule protects lifespan more than the shingles themselves do. Call (844) 228-4119 to talk about your roof’s age and condition.
A thorough inspection is a same-visit job, and we never send a bill for an estimate. Expect us to walk the roof, photograph the flashings and boots, and give you a straight answer. If we find something, the price we quote is the price you pay. Call (844) 228-4119 to schedule.
The Bottom Line
A new roof is not finished on the day the crew leaves. It is a system on probation for three years, and the maintenance you do in that window is really a quality-assurance check on the installation. Inspect twice a year around Enterprise’s seasons, get one professional inspection annually, watch the flashing, ridge caps, and pipe boots, and keep a dated record that satisfies the manufacturer warranty. Do that and a correctly installed roof proves itself. Skip it and small installation issues turn into claims you have to fight. For a roof done right and backed in writing, start by calling Ridgeline Roofing Co. Enterprise for a free estimate: Ridgeline Roofing Co. Enterprise home.
Contact
If you’re not sure what your new roof needs or when, we’ll take a look and tell you plainly. Phones are answered by a live person around the clock, and estimates are free.
Call Ridgeline Roofing Co. Enterprise at (844) 228-4119 for a free estimate.
Written by the team at Ridgeline Roofing Co. Enterprise.