
Last updated November 18, 2026
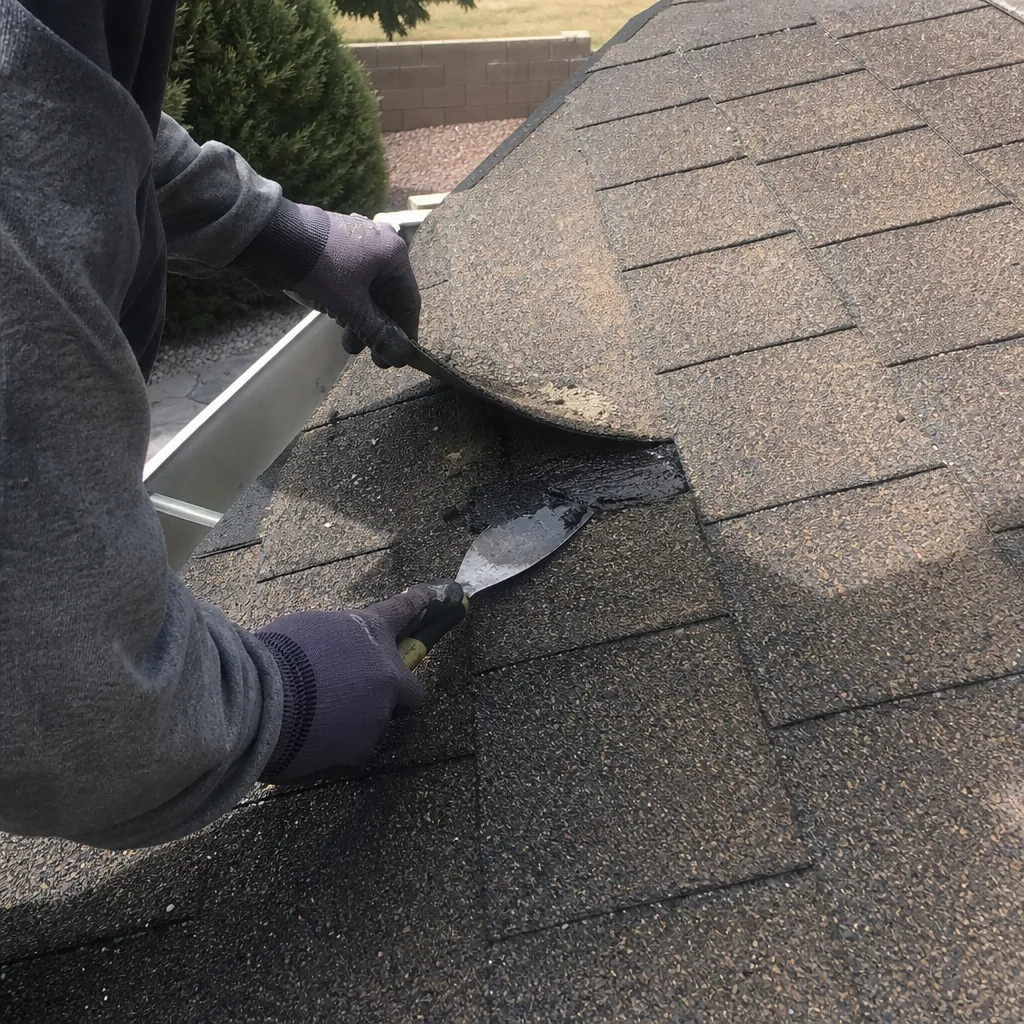
 Architectural shingles
 Metal roofing
 Tile roofing
 GAF
 Owens Corning
 Flat & low-slope
Free roof inspection with deck photos before we talk money - GAF and Owens Corning certified installation
Emergency & Storm Damage Maintenance Schedule: What to Do and When
The cheapest storm repair is the one that never happens. A roof inspected and sealed before June 1st in Southern Nevada is a materially different roof than the same structure left unchecked heading into monsoon season. That gap – roughly eight weeks between the last cool mornings of spring and the first churning afternoon cell over the Spring Mountains – is the maintenance window that decides whether your home sheds a monsoon or takes water. Most homeowners in Enterprise don’t know the window exists, so they spend July reacting to damage that April could have prevented. This guide lays out the full calendar: what to check before the season, what to do in the days after a storm, and how documentation protects you long after the clouds clear.
Quick Answer
The pre-storm roof maintenance window in Enterprise runs from April through May, before Southern Nevada’s monsoon season begins in mid-June. The highest-priority task in that window is flashing inspection and sealing – not shingle appearance – because most water intrusion starts at roof-to-wall junctions, vents, and chimney surrounds. After any major storm cell, document conditions with photos within 48 hours, clear debris from drains and valleys, and get a professional inspection if you see granule loss, lifted shingles, or ceiling stains.
Styles & brands we work with
- Architectural shingles
- Metal roofing
- Tile roofing
- GAF
- Owens Corning
- Flat & low-slope
Table of Contents
- Why April and May Are the Real Storm Season in Enterprise
- The Pre-Monsoon Checklist: What to Inspect Before June 1st
- Flashing First: The Highest-Leverage Pre-Storm Task
- Post-Storm Steps: The First 72 Hours After a Major Cell
- Annual Photo Documentation and Your Insurance Claim
- How the 90-Day Done Right Promise Works as a Maintenance Checkpoint
- Common Mistakes to Avoid
- When to Call a Professional
Why April and May Are the Real Storm Season in Enterprise
Monsoon season in Southern Nevada officially begins in mid-June and runs through September, but the work that determines whether your roof survives it happens two months earlier. In Enterprise, spring temperatures climb through the 80s by late April, and that warmth does two useful things: it lets sealants cure properly before the heat dome sets in, and it exposes materials that winter cold had stiffened or cracked. A sealant applied in April has weeks to bond before the first real rain load tests it.
What we’ve seen across Enterprise is a predictable pattern. Homes that get a genuine pre-season inspection in April or early May come through the monsoon with minor, if any, damage. Homes that skip it spend July and August calling about water stains on ceilings, saturated attic insulation, and drywall that has to be cut out. The difference isn’t luck. It’s a small number of specific tasks done at the right time.
There’s a second reason the window matters here. Enterprise sits in a stretch of the valley where afternoon thunderstorms can drop a half-inch of rain in fifteen minutes, and the desert soil doesn’t absorb it. Water sheets off roofs and pools against foundations. A roof that’s shedding properly in May is a roof that isn’t contributing to foundation moisture in August. Timing is the whole game, and the calendar in Enterprise rewards homeowners who plan for June in April.
The Pre-Monsoon Checklist: What to Inspect Before June 1st
This is the core of the maintenance schedule. Work through these items between April 1 and May 31, in this order. If you’d rather not climb a ladder, a professional inspection from the Ridgeline Roofing Co. Enterprise home team covers every item below and documents it with photos.
- Clear the roof surface and valleys. Winter wind deposits seed pods, palm fronds, and grit in the valleys where roof planes meet. Every bit of debris holds moisture and blocks drainage. Clear it before the first storm, not after.
- Inspect flashing at every penetration. Roof-to-wall junctions, chimney surrounds, vent boots, and skylight frames are where water gets in first. More on this in the next section – it’s worth its own pass.
- Check for lifted or cracked shingles. Spring heat can reveal shingles that winter cold left brittle. Look for tabs that have curled, cracked, or lost their seal. GAF and CertainTeed products hold up well in desert cycles, but installation quality and age both matter.
- Clear gutters and downspouts. A clogged gutter in Enterprise doesn’t just overflow – it pushes water back under the fascia and into the wall cavity. Run a hose through each downspout to confirm flow before June.
- Examine attic-side evidence. From inside the attic, look for daylight at the ridge, water stains on rafters, or damp insulation. This is where slow leaks announce themselves before they reach your ceiling.
- Check the sealant at pipe boots and vents. Factory rubber boots dry out and crack in desert heat within a few years. A cracked boot is a direct path for water.
- Confirm your roof is documented. Photograph the current condition now, before the season. You’ll understand why in the documentation section.
Flashing First: The Highest-Leverage Pre-Storm Task
Homeowners tend to judge a roof by its shingles. Insurance adjusters, inspectors, and anyone who has repaired storm damage for a living judge it by the flashing. Here’s why: shingle damage from wind is visible and usually obvious. Water intrusion from failed flashing is invisible until it has been soaking into your framing for months.
Flashing is the metal – or in some installations, layered membrane – that seals the joints where the roof plane meets something else. The roof-to-wall junction on a second story. The base of a chimney. The perimeter of a skylight. The boot around a plumbing vent. These are the spots where water has the shortest, most direct path into your home, and they’re the spots most likely to fail during a monsoon, because monsoon rain doesn’t fall straight down. It comes in sideways, driven by wind at an angle that finds every gap a vertical rainstorm would miss.
In Enterprise, we’ve seen more interior water damage traced to failed flashing than to failed shingles, and by a wide margin. The checklist for flashing is short but specific:
- Sealant at counter-flashing should be flexible and intact, with no cracks or separation from the wall.
- Step flashing along sidewalls should be layered under each shingle course and fully covered – no exposed nails or gaps.
- Chimney flashing needs a proper cricket on the uphill side, and the sealant at the base should be sound.
- Vent boots should be pliable, not dried and cracking from years of desert sun.
- Skylight frames should be tight with no lifted edges.
Flashing inspection is the task we’d prioritize over everything else on this list. If you do only one pre-season task in Enterprise, make it this one. A repair team can reseal flashing in a single visit at modest cost; the interior repairs that follow a flashing failure run into the thousands.
Post-Storm Steps: The First 72 Hours After a Major Cell
When a monsoon cell moves through Enterprise and dumps an inch in an hour, the work shifts. The goal in the days after a storm is to prevent secondary damage – the things that get worse if no one acts. Here’s the sequence:
- Check for active drips and ceiling stains. Walk every room and look up. Fresh water stains, sagging drywall, or bubbling paint are signs water is already inside. Place buckets, but understand you’re managing symptoms, not the problem.
- Photograph everything. The roof from the ground, any interior damage, any debris on the ground that came from your roof. Timestamped photos taken in the first two days carry a lot of weight with insurance adjusters.
- Clear drains, valleys, and gutters again. Wind-driven debris dams drainage fast. Standing water on a roof finds every weakness. If it’s safe to do so from the ground with a long-handled tool, clear what you can; otherwise leave it to a professional.
- Look for loose or missing shingles. From the ground with binoculars is the safe method. A missing shingle after a storm leaves the underlayment exposed, and the next storm finishes the job.
- Inspect the flashing again. Wind can work sealant loose and lift counter-flashing at the same time it strips shingles. This is the moment to check every junction.
- Call for an inspection if anything looks off. Interior stains, missing shingles, and lifted flashing all warrant a professional look before the next cell arrives.
The single biggest post-storm error is waiting. A small leak left for two weeks in Enterprise turns a modest flashing repair into a drywall and insulation job. The window to act cheaply is short.
Annual Photo Documentation and Your Insurance Claim
Here’s a fact that surprises most homeowners: the fastest way to slow down an insurance claim is to have no record of what your roof looked like before the storm. Adjusters work from comparison. If they can’t tell whether damage is new or was there two seasons ago, the claim gets denied, delayed, or underpaid.
An annual photo record changes that. Once a year – ideally in April or May during the pre-season inspection – someone photographs your roof: every plane, every flashing detail, every vent, the gutters, the attic. The photos are dated. The condition is recorded. When a July storm strips shingles, you can prove those shingles were intact in May. That record is the difference between a claim that moves forward and a claim that stalls while adjusters argue.
This is one of the reasons our inspections are photo-documented from the actual roof. The record belongs to you, not to us. It’s the same principle the Roof Repair in Enterprise team applies on repair visits: dated, detailed documentation of condition before and after. A roofing company that documents its work is a roofing company you can hold to its word – and the record outlasts any warranty.
The annual record also protects you against a subtler risk. Storm-chasing crews drift through Southern Nevada after every big monsoon, offering quick repairs and hanging around for a few weeks. They have no record of your roof and no intention of being around when problems show up. Your own documentation undermines their pitch.
The 90-Day Done Right Promise as a Post-Repair Checkpoint
Most warranties are documents you file away and hope you never need. Our 90-Day Done Right Promise works differently: it’s a written workmanship guarantee, and it functions as a checkpoint on the maintenance schedule itself.
Here’s what that means in practice. When we complete a storm repair or a pre-season flashing reseal, the 90 days that follow cover the most likely window for a workmanship issue to surface. If something we did isn’t holding – a sealant that lifted, a shingle that didn’t bond, a flashing detail that weeps – we come back and make it right. No paperwork, no arguing. If the repair passes 90 days of real weather, it has been tested by everything Enterprise’s monsoon season can throw at it.
The other value is confirmation. A post-repair inspection at the 90-day mark, or at the end of the season, lets us verify that the repair is holding and the rest of the roof is still in good condition. It’s a scheduled reason to look again – and looking again is what catches the next problem before it becomes damage. This is why the promise is part of the maintenance schedule, not just a warranty line. It’s a checkpoint the homeowner and the company share.
Any roof replacement or Roof Replacement & Installation in Enterprise we do is covered the same way, and any Specialty Roofing in Enterprise work – flat sections, tile, metal – carries the same written guarantee.
Common Mistakes to Avoid
- Waiting until after the first storm to inspect. In Enterprise, the first monsoon cell is not the warning – it’s the test. A roof inspected in May has time to be repaired. A roof inspected in July is being inspected after damage has already occurred.
- Judging the roof by the shingles alone. Shingles usually look fine while the flashing has failed and is quietly leaking. Flashing inspection is the task that actually prevents interior damage.
- Ignoring attic clues. Daylight, damp insulation, and water stains on rafters are early warnings. Homeowners who never look in the attic miss the slow leaks that cause the most interior damage.
- Skipping the pre-storm photo record. A photo of your roof in good condition is the most valuable document you’ll have when you file a claim. Most homeowners don’t have one, and their claims get delayed.
- Hiring the first storm-chasing crew that knocks. After a major Enterprise monsoon, out-of-town crews show up offering quick fixes at low prices. They usually leave before their work fails and the 90-day window closes with no one to call.
- Letting gutters clog through spring. A clogged gutter doesn’t just overflow – it sends water under the fascia and into the wall. It’s a five-minute task that prevents a five-figure repair.
- Assuming a newer roof needs no inspection. Newer roofs don’t skip maintenance; they just haven’t accumulated age. Flashing still fails, boots still dry out, and the first monsoon doesn’t care when the roof was installed.
When to Call a Professional
Some storm damage is obvious – a missing shingle, a visible crack, a ceiling stain spreading while you watch. Some is not. Call a professional when you see interior water stains, when shingles have lifted or gone missing, when flashing is loose or has lost sealant, when a skylight or chimney surround is compromised, or when an attic inspection reveals dampness or daylight. Call after any storm severe enough to strip trees, drive rain sideways, or leave visible roof debris on the ground.
The work should be documented. The Ridgeline Roofing Co. Enterprise home team provides photo-documented inspections from the actual roof, written upfront estimates, and a written workmanship guarantee – the 90-Day Done Right Promise. We’re an authorized installer of GAF, CertainTeed, Owens Corning, IKO, Atlas, Tamko, and Boral, so the materials on the estimate are the materials on the roof. Ridgeline Roofing Co. Enterprise offers free estimates in Enterprise – call (844) 228-4119.
See the difference
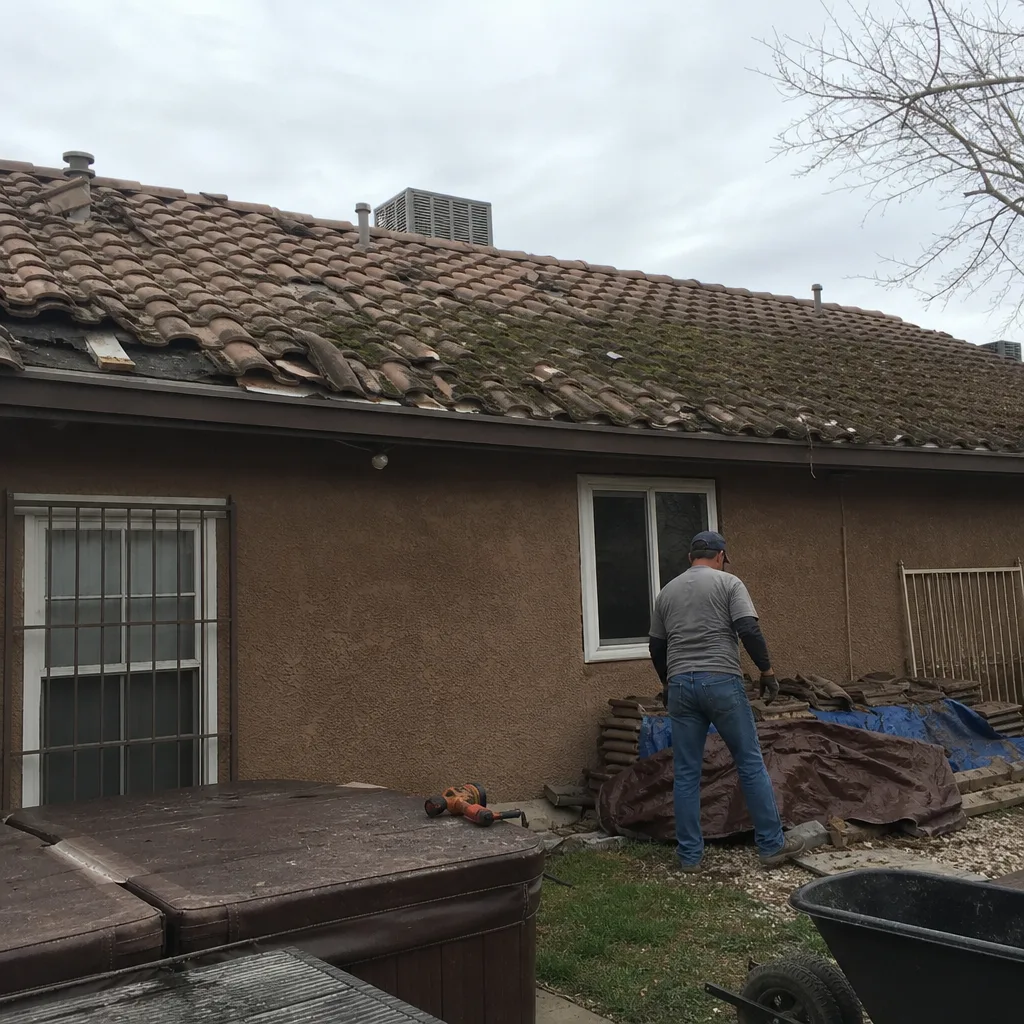 Before
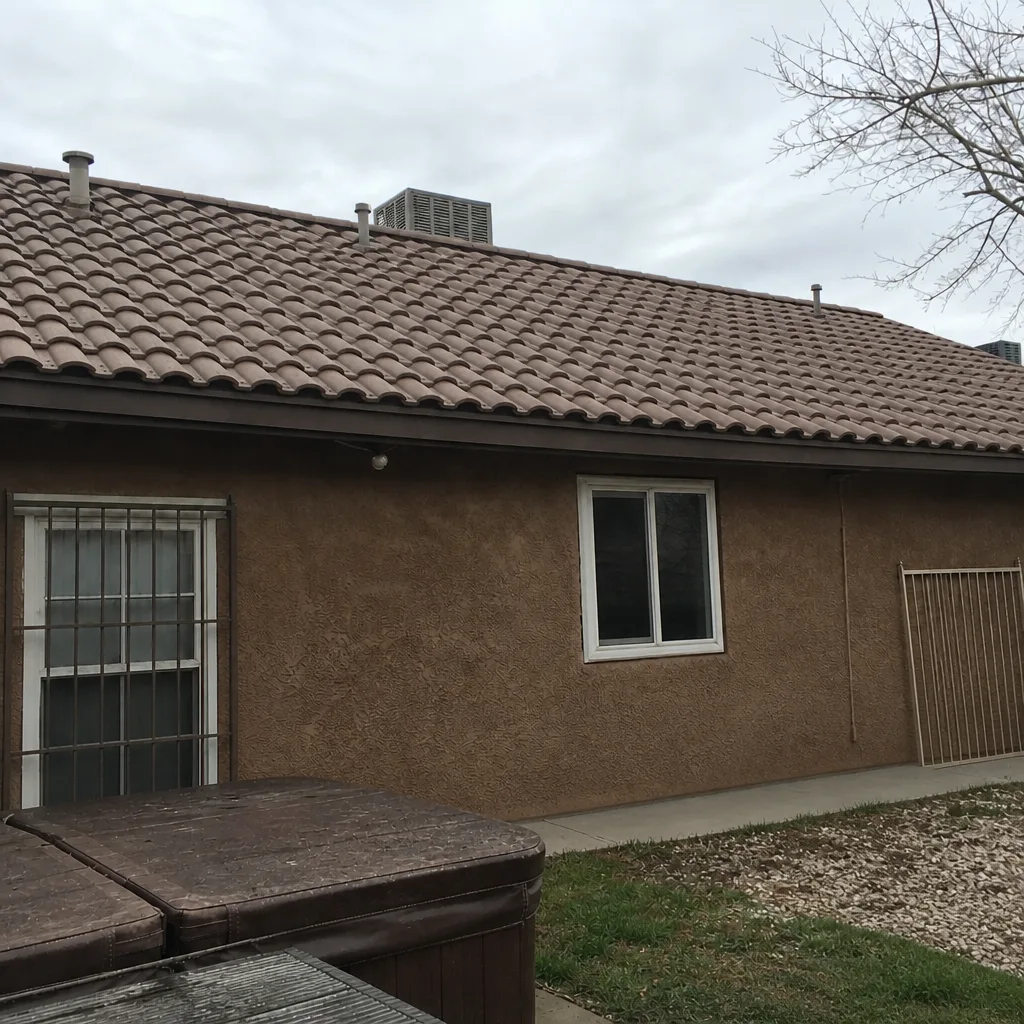 After
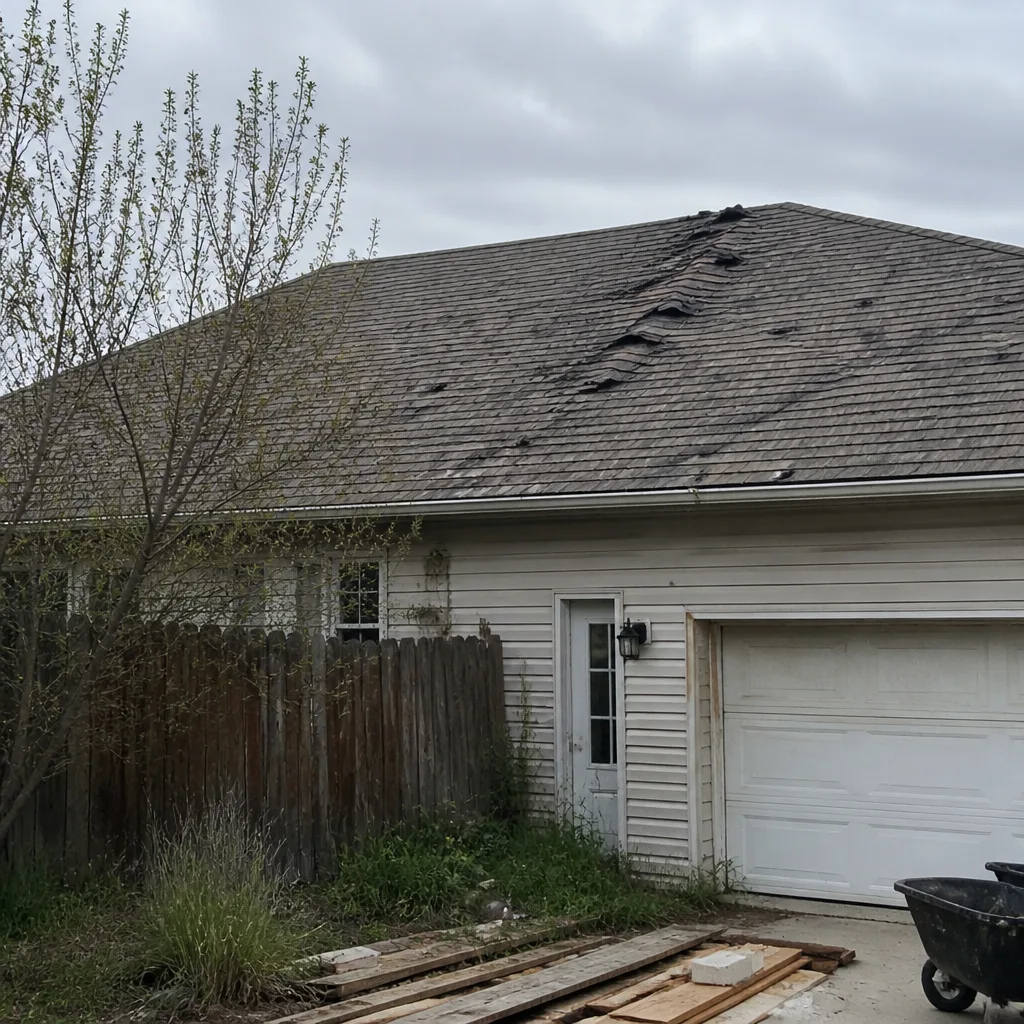 Before
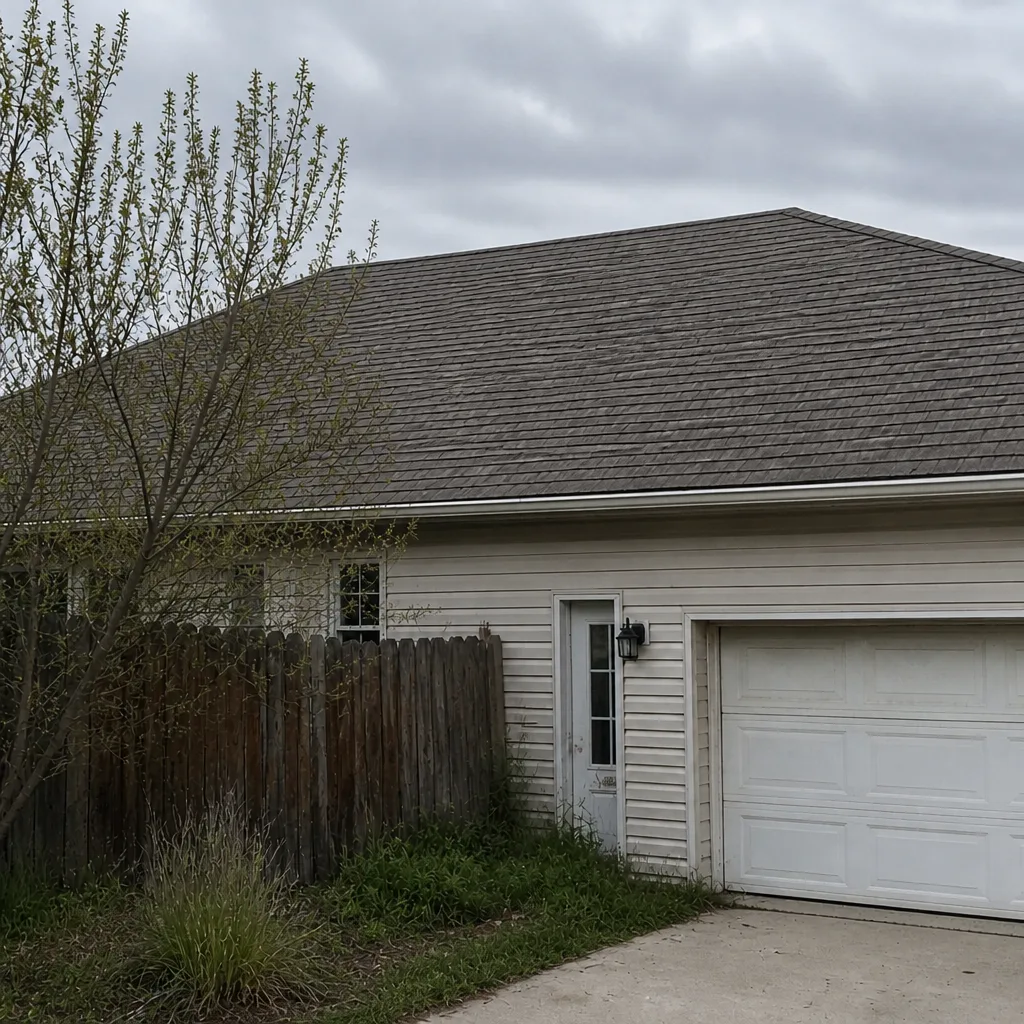 After
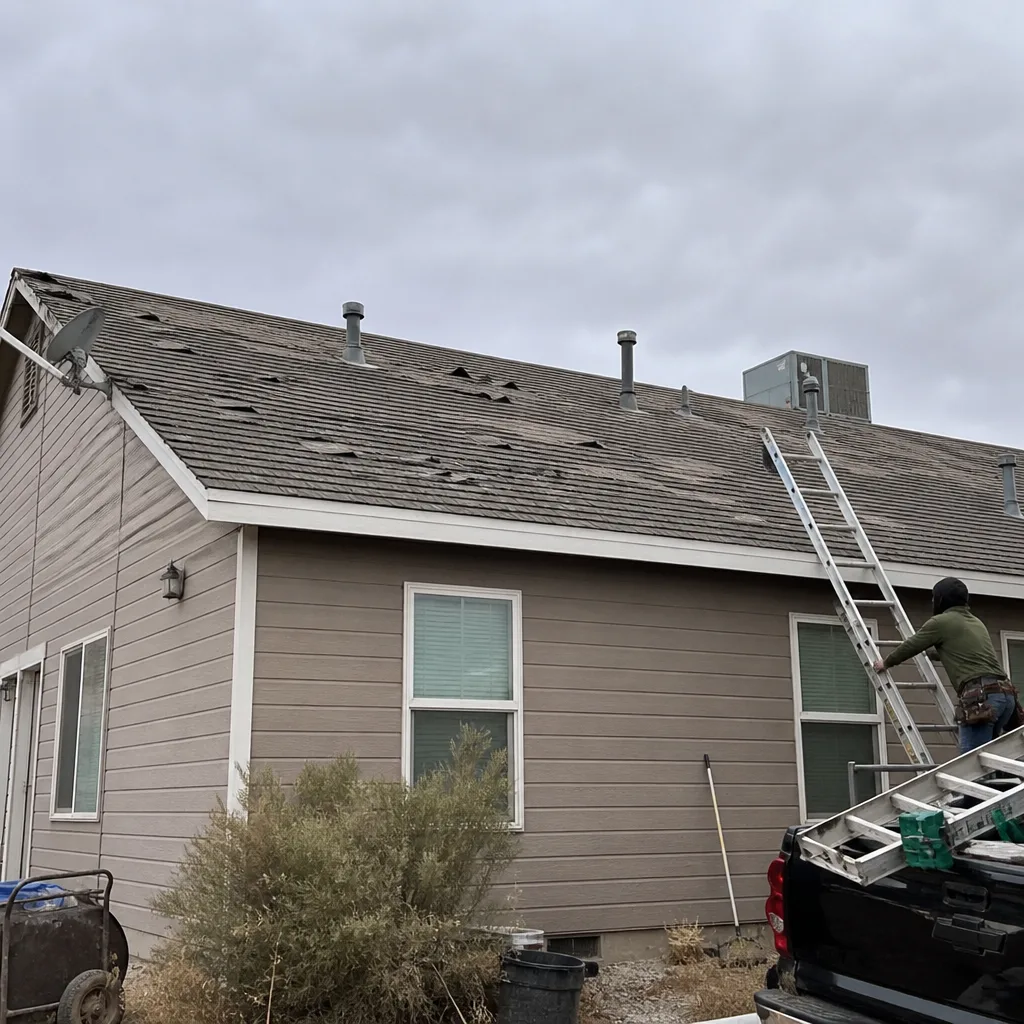 Before
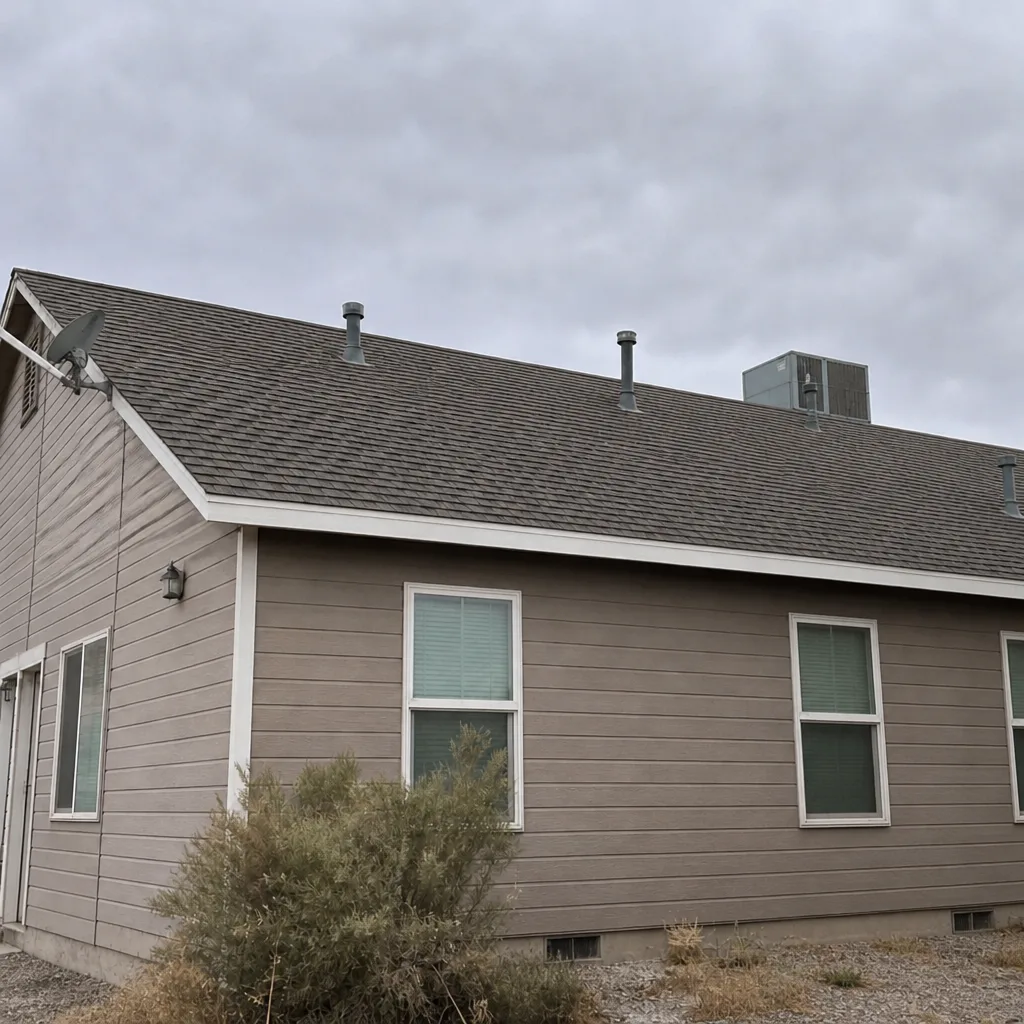 After
Frequently Asked Questions
April through May, before monsoon season begins in mid-June. That window gives enough time for repairs and sealant curing before the first real rain load arrives. A roof inspected in Enterprise in early May is a roof with weeks of margin; one inspected in late June is a roof already exposed to the storm.
Yes, for water intrusion. Shingle damage is usually visible from the ground and usually caught quickly. Failed flashing is hidden at roof-to-wall junctions, vents, and chimney surrounds, and it’s the source of most interior water damage we see in Enterprise after monsoons. Inspect the shingles, but prioritize the flashing.
Inspection costs vary by company and roof size, but a full photo-documented inspection is typically a modest one-time cost, and it’s the least expensive item on the entire maintenance schedule. The repair that inspection might catch runs far higher than the inspection itself. Call (844) 228-4119 for current pricing and free estimates – the number on the estimate is the number on the invoice.
Within 48 to 72 hours for documentation and debris clearing, and sooner for active leaks. Interior water damage compounds by the day. The first 72 hours after a major cell in Enterprise are the window when a small repair stays small, and the photo record you take now is the record that supports any future insurance claim.
Not necessarily denied, but it’s often delayed or reduced. Adjusters compare pre-storm condition to post-storm condition, and without a dated photo record of your roof in good condition, they can’t tell what’s new. Annual photo documentation is the cheapest insurance support you can build.
Yes. Older and flat roofs benefit most from the pre-season checklist – flashing reseal, drain clearing, and surface inspection all make a measurable difference. Any repair work is covered by the 90-Day Done Right Promise, and any flat or specialty section can be inspected and repaired in a single visit. Call us for a free estimate.
The Bottom Line
Storm damage preparedness in Enterprise is a calendar problem before it’s a repair problem. The April-to-May window – clear the roof, inspect the flashing first, check the shingles, clear the gutters, photograph everything – determines whether your home sheds the monsoon or takes water. After a storm, the first 72 hours decide how much damage compounds. The annual photo record is your best claim support. And the 90-Day Done Right Promise makes every repair a checkpoint, not just a warranty. Done right – and if it isn’t, we make it right. If you want a photo-documented pre-season inspection in Enterprise before June arrives, call (844) 228-4119 for a free estimate.
Written by the team at Ridgeline Roofing Co. Enterprise.